GALLERY WALLS: GRID
GALLERY WALLS: GRID
I have been fascinated by Gallery Walls for a long time – maybe it stems from when I was a child I wasn’t allowed to put posters on my walls and I’ve been obsessed with covering walls with things ever since. I posted my first Gallery Wall post a while ago (find it here) that gave an overview of different Gallery Walls but I thought as this topic still interested me and it’s a trend that’s still going strong that I’d share with you a more comprehensive look at each style of Gallery Wall.
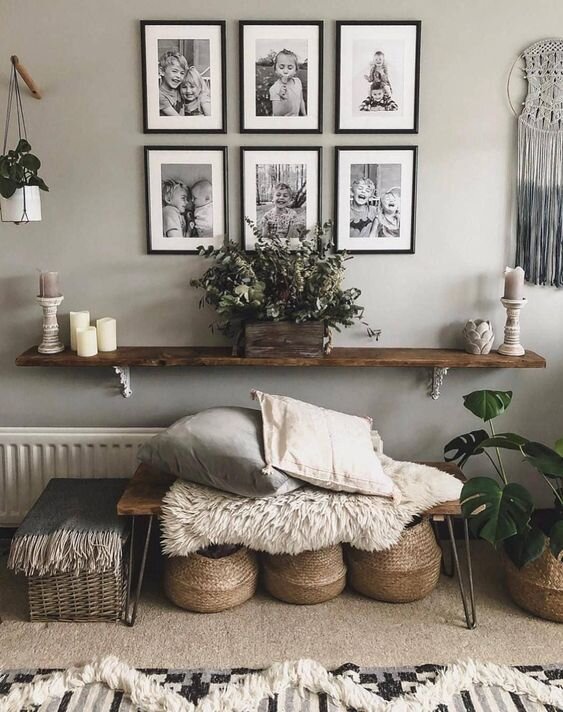
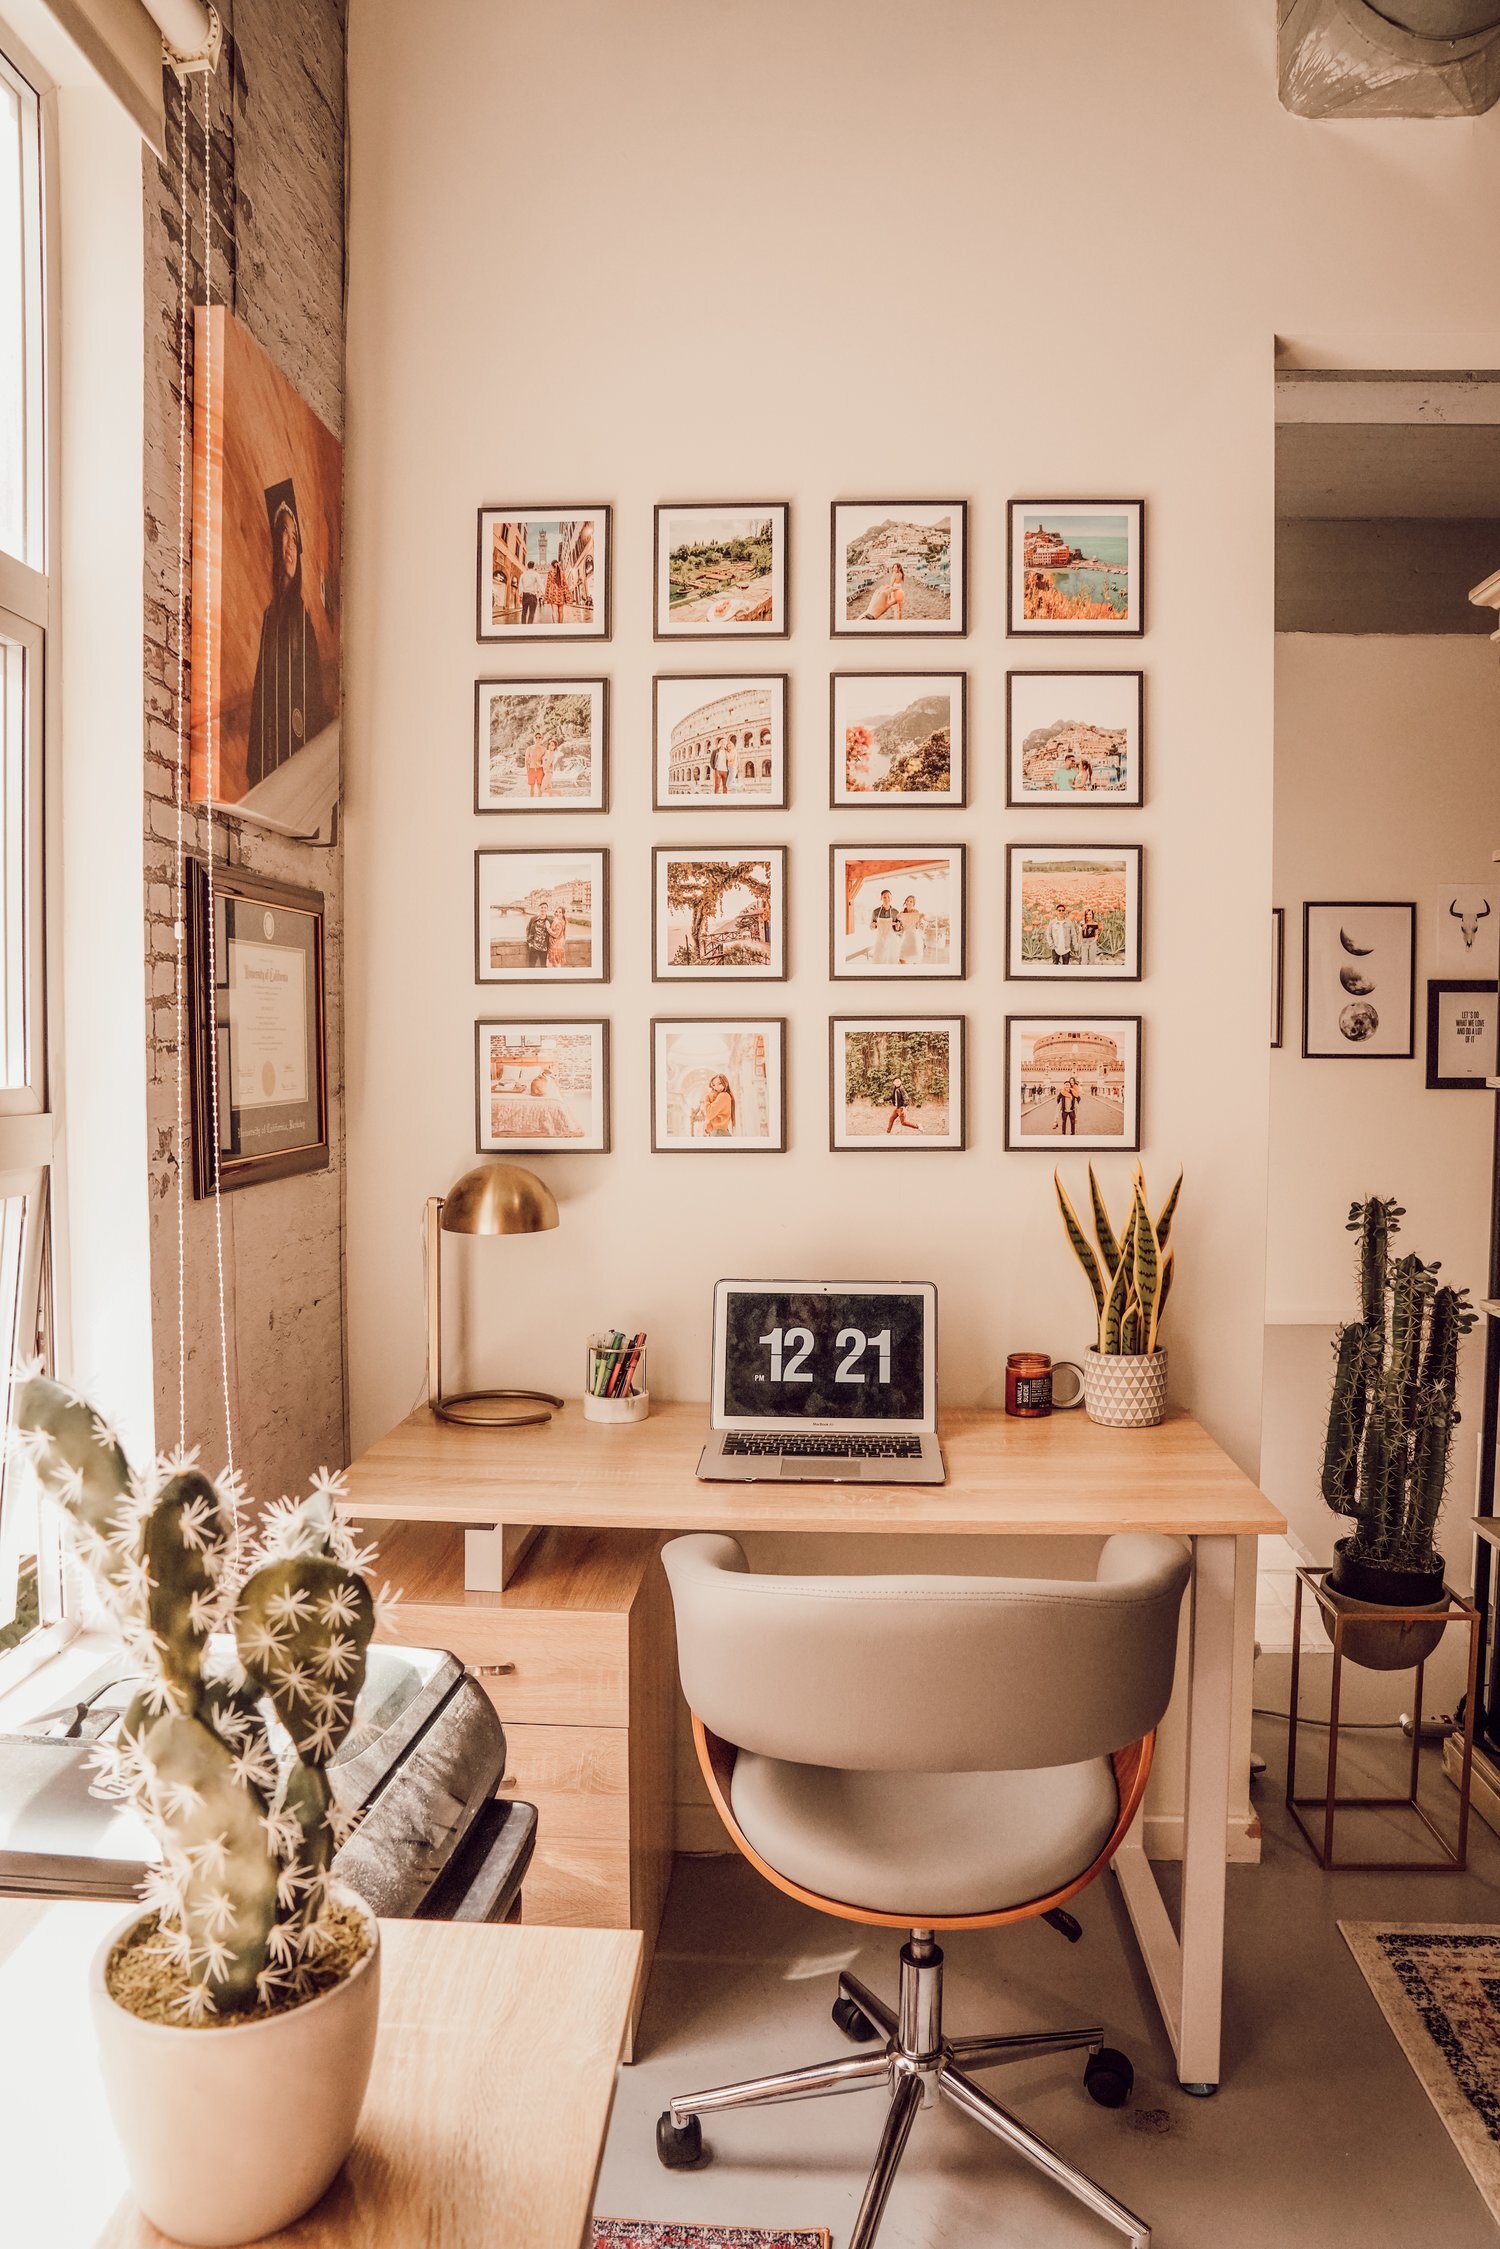
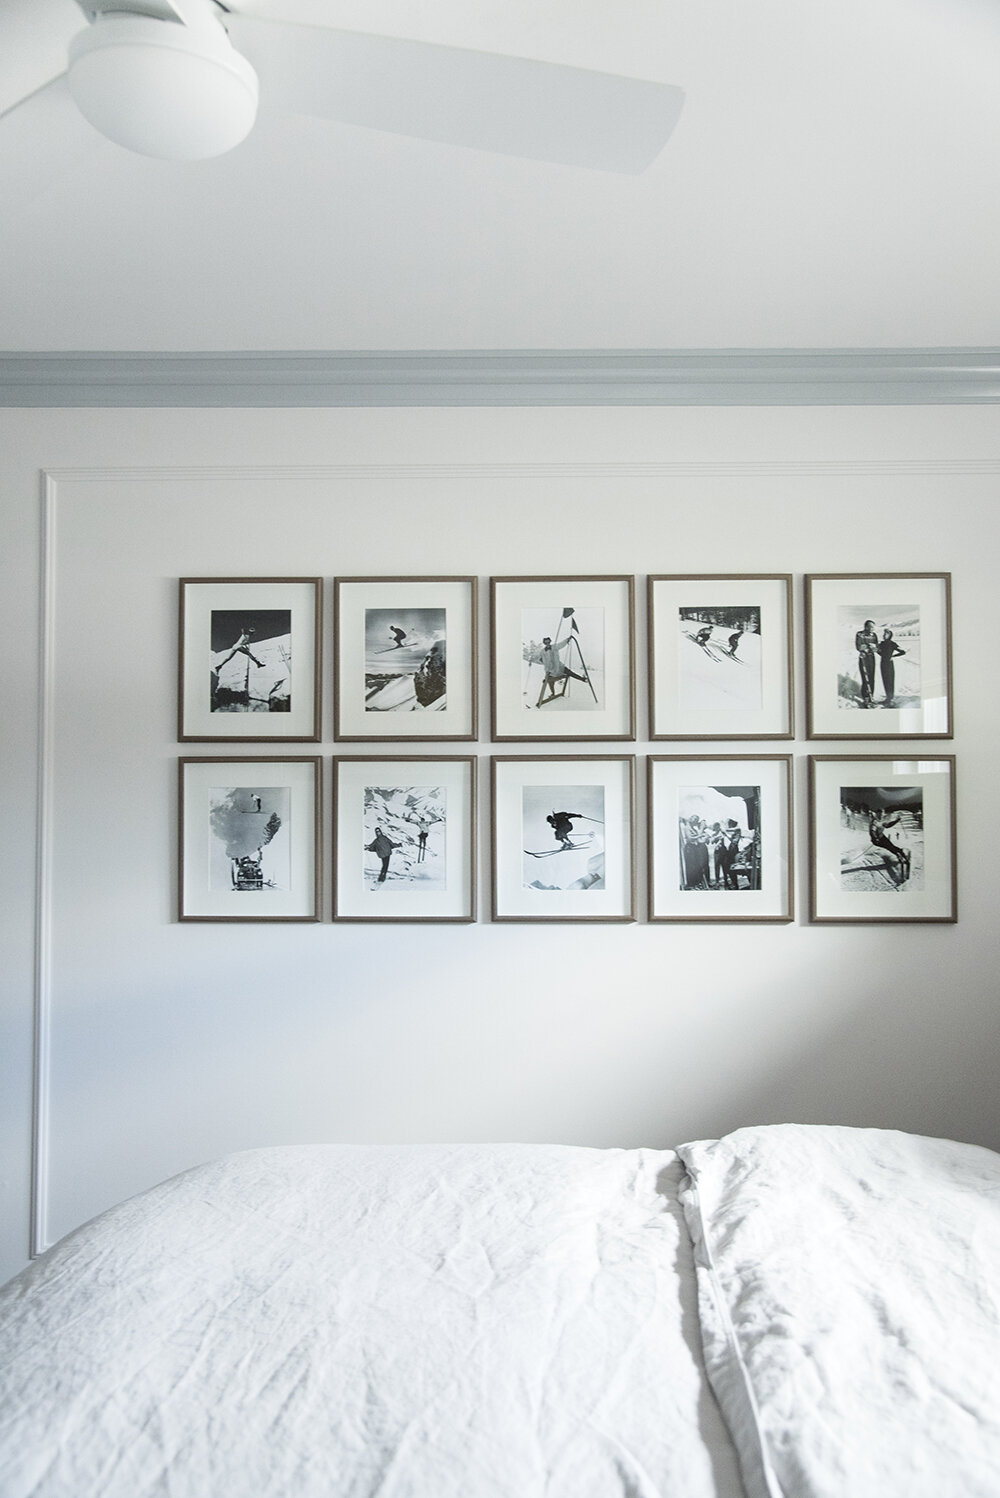
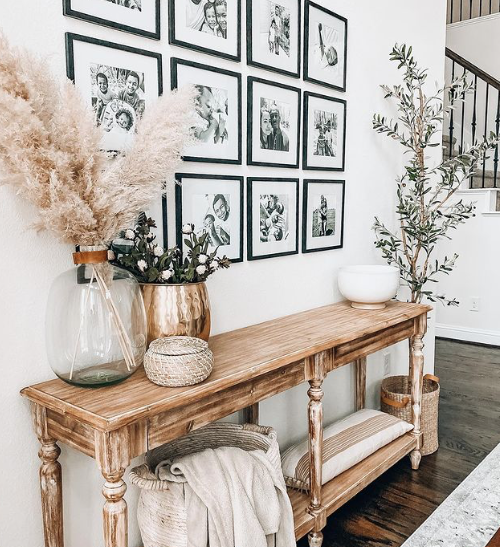
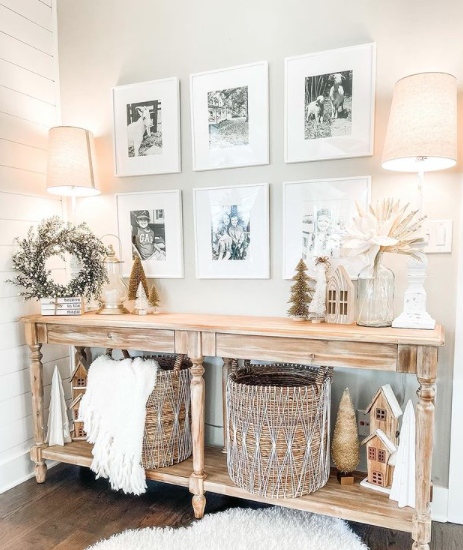
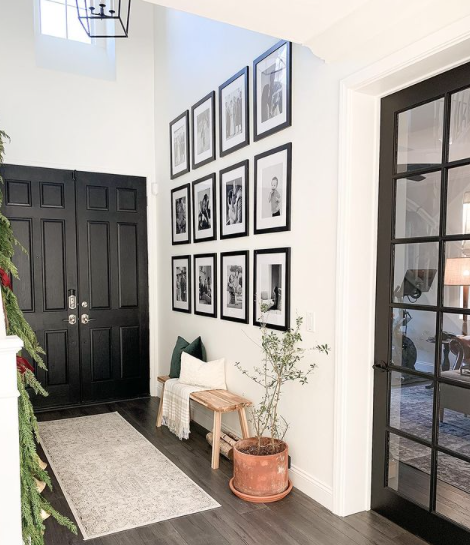
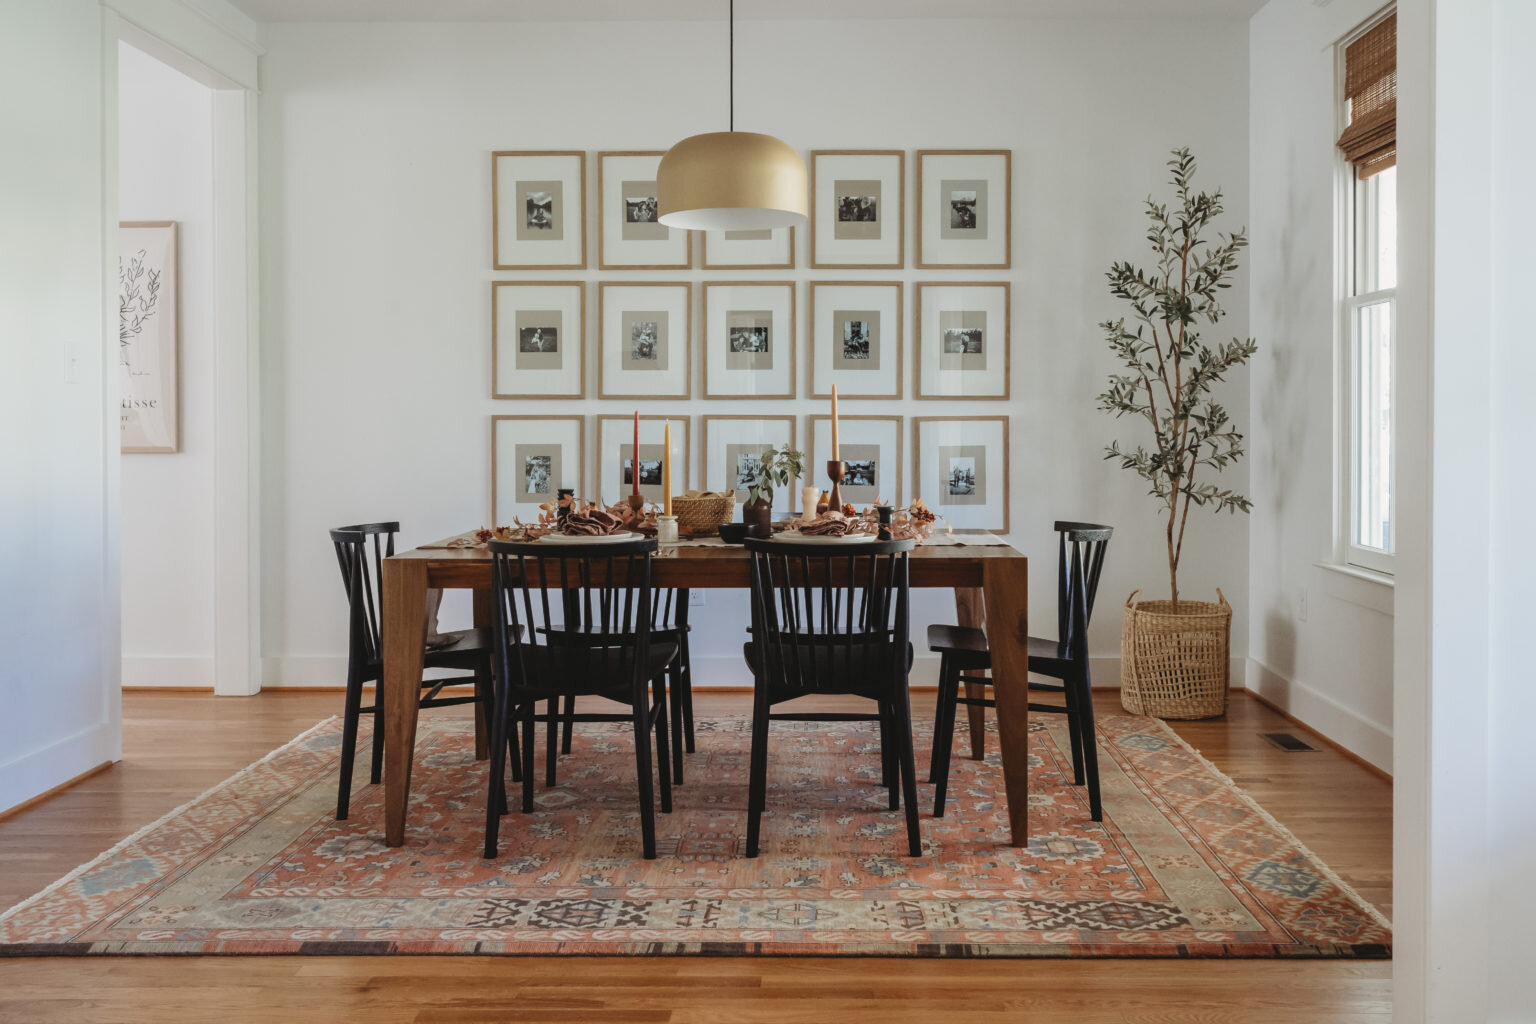
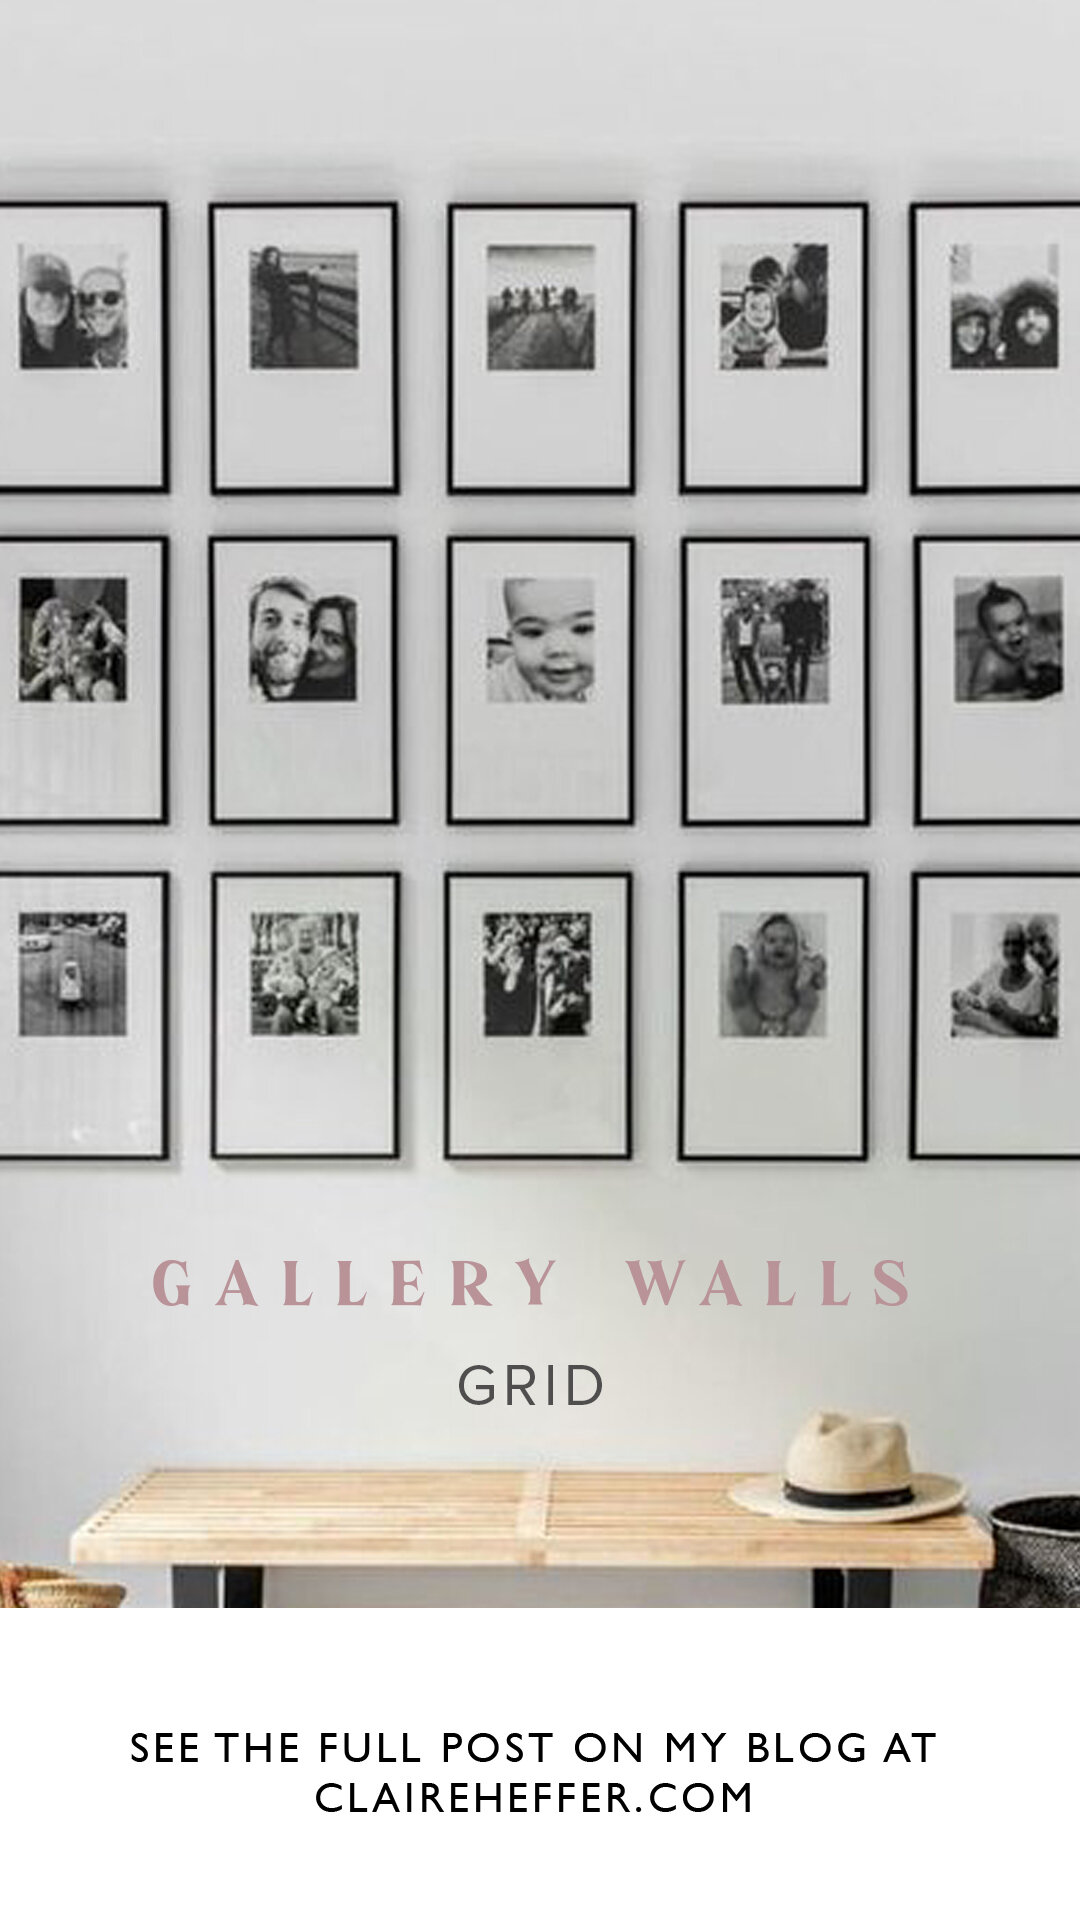
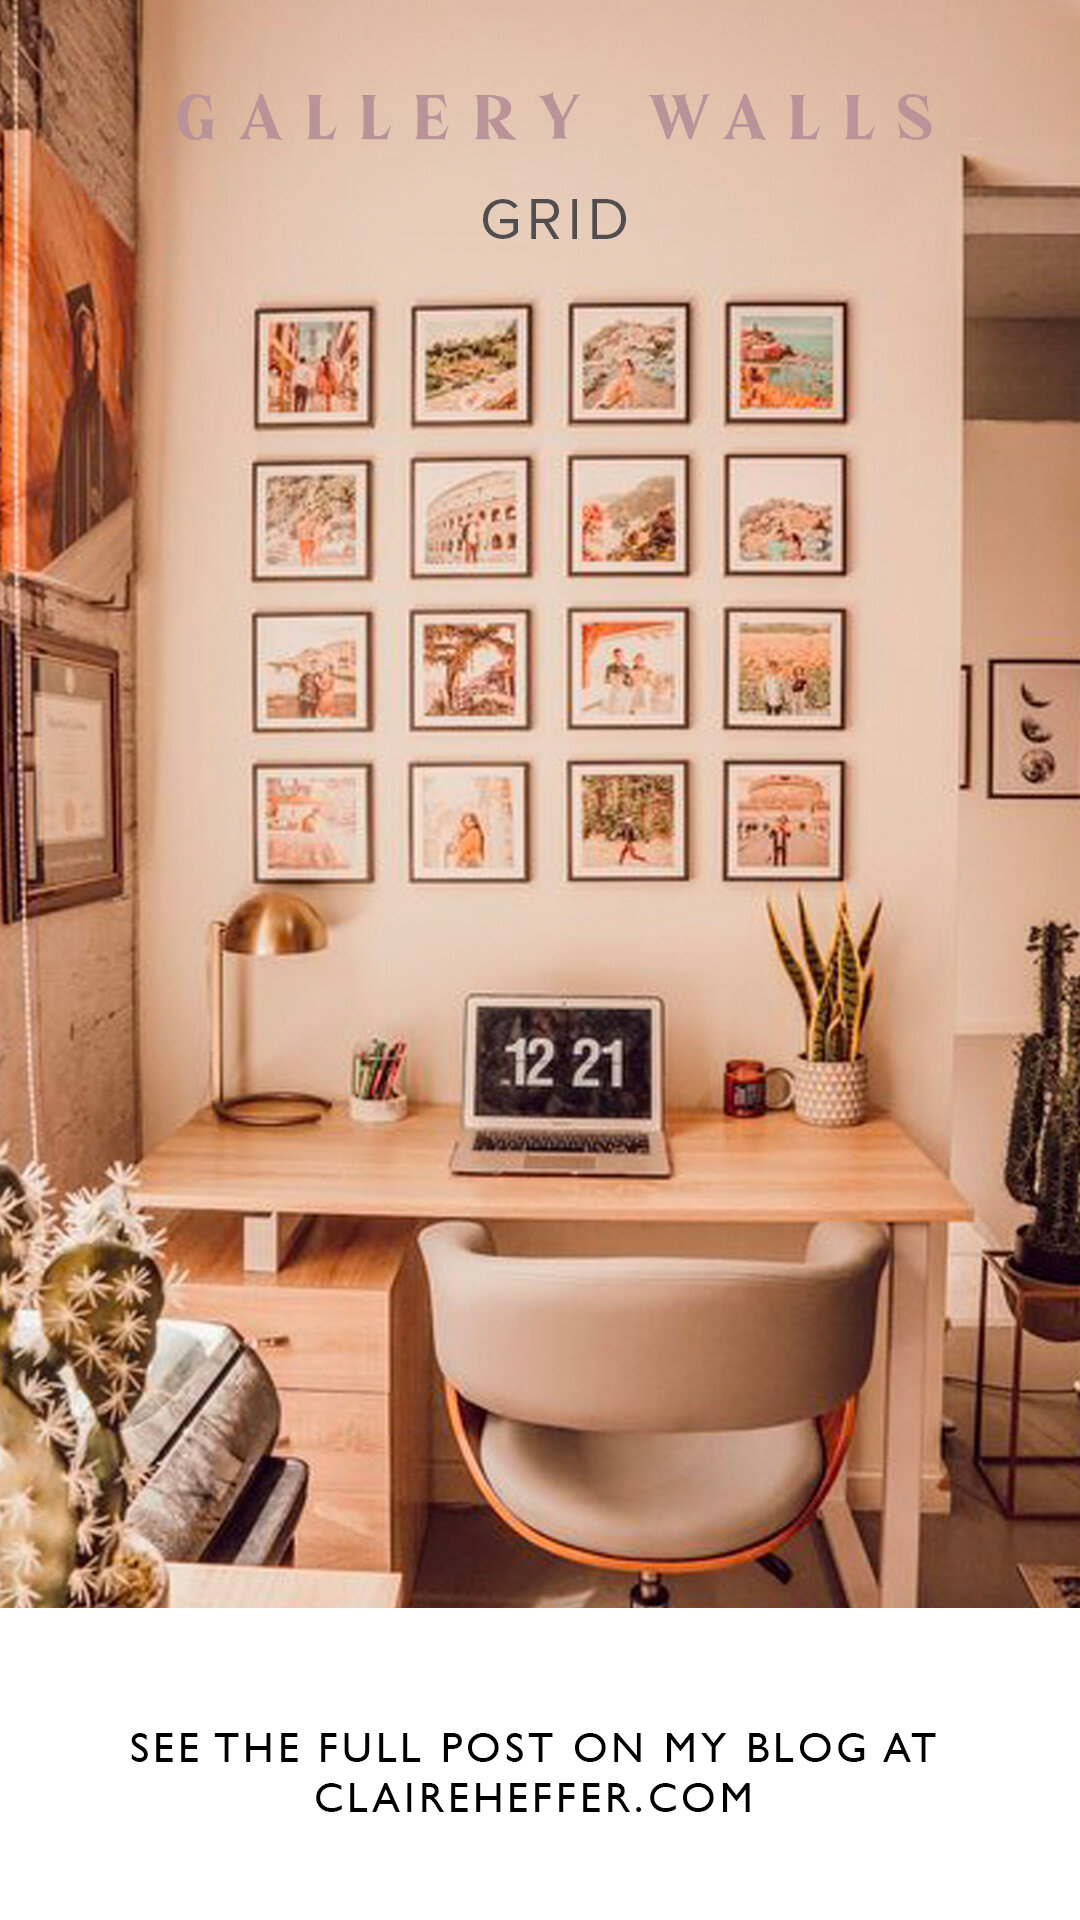
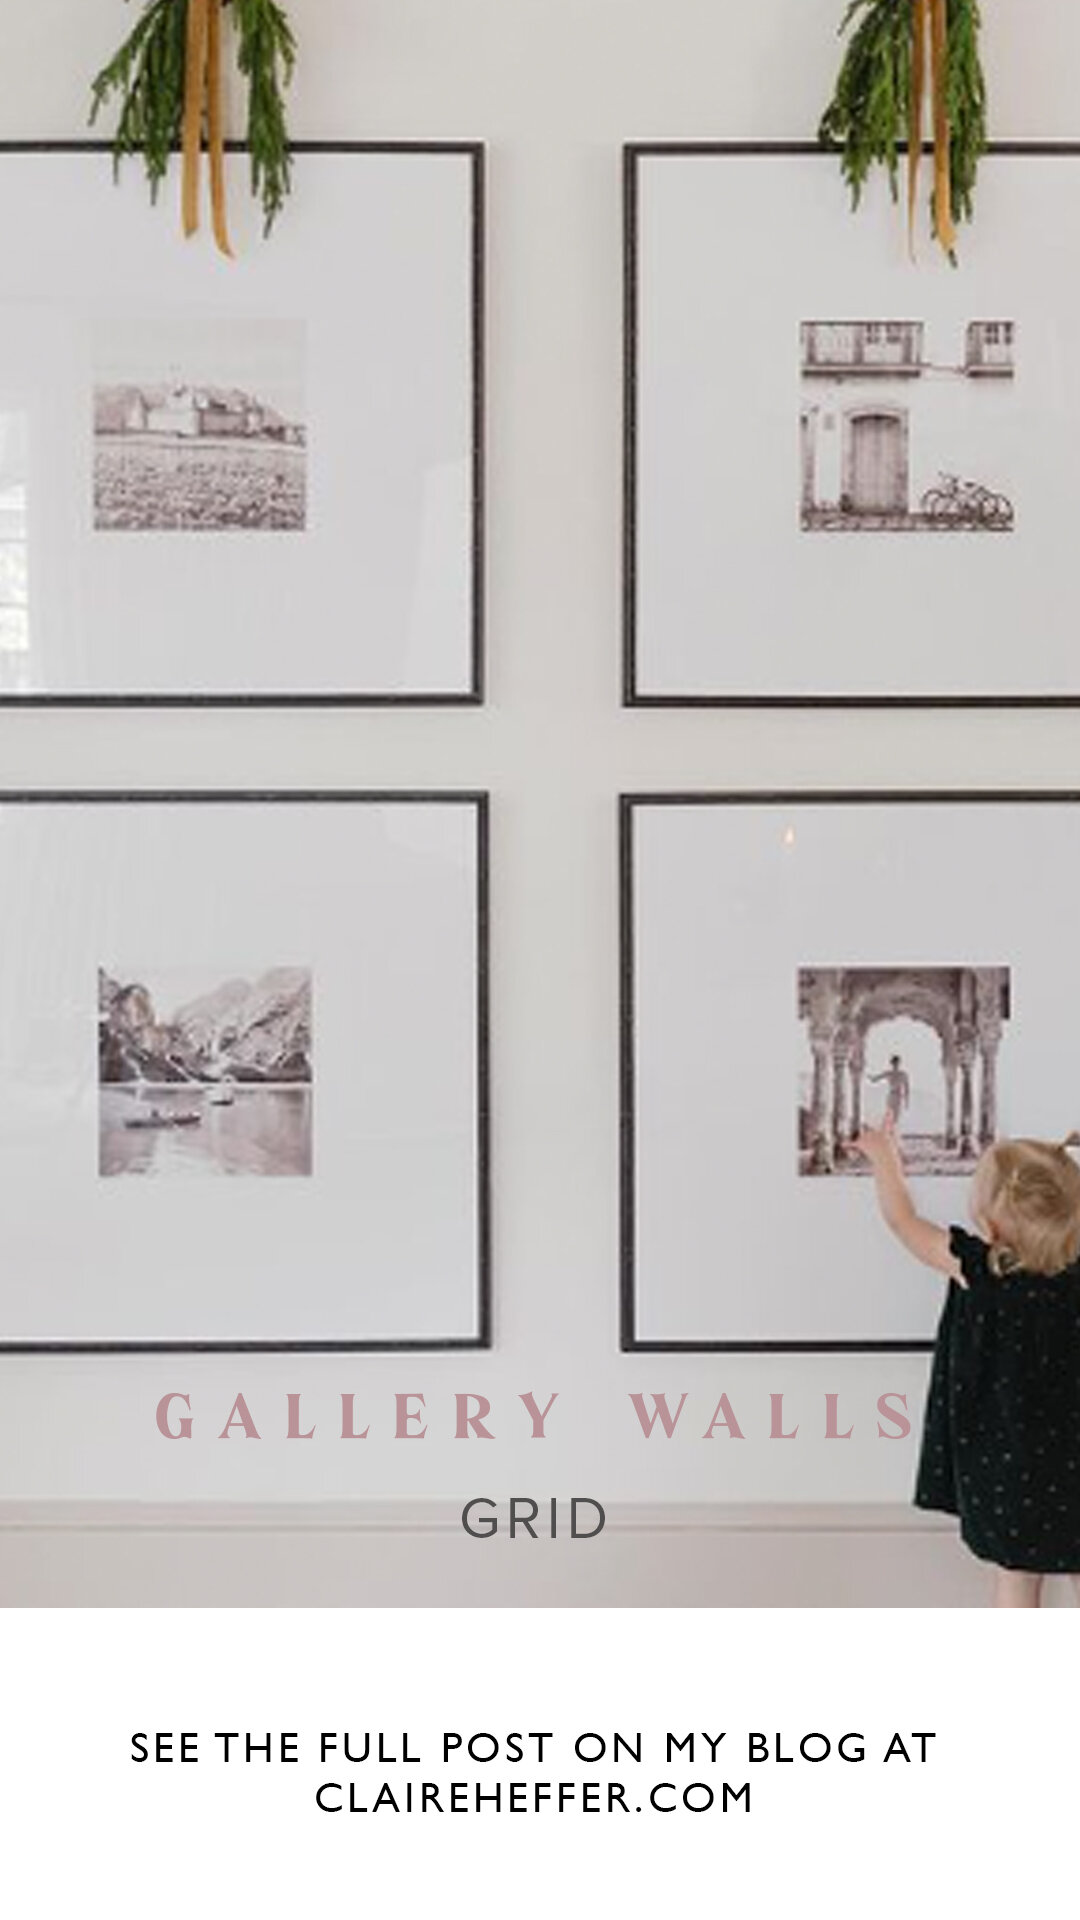
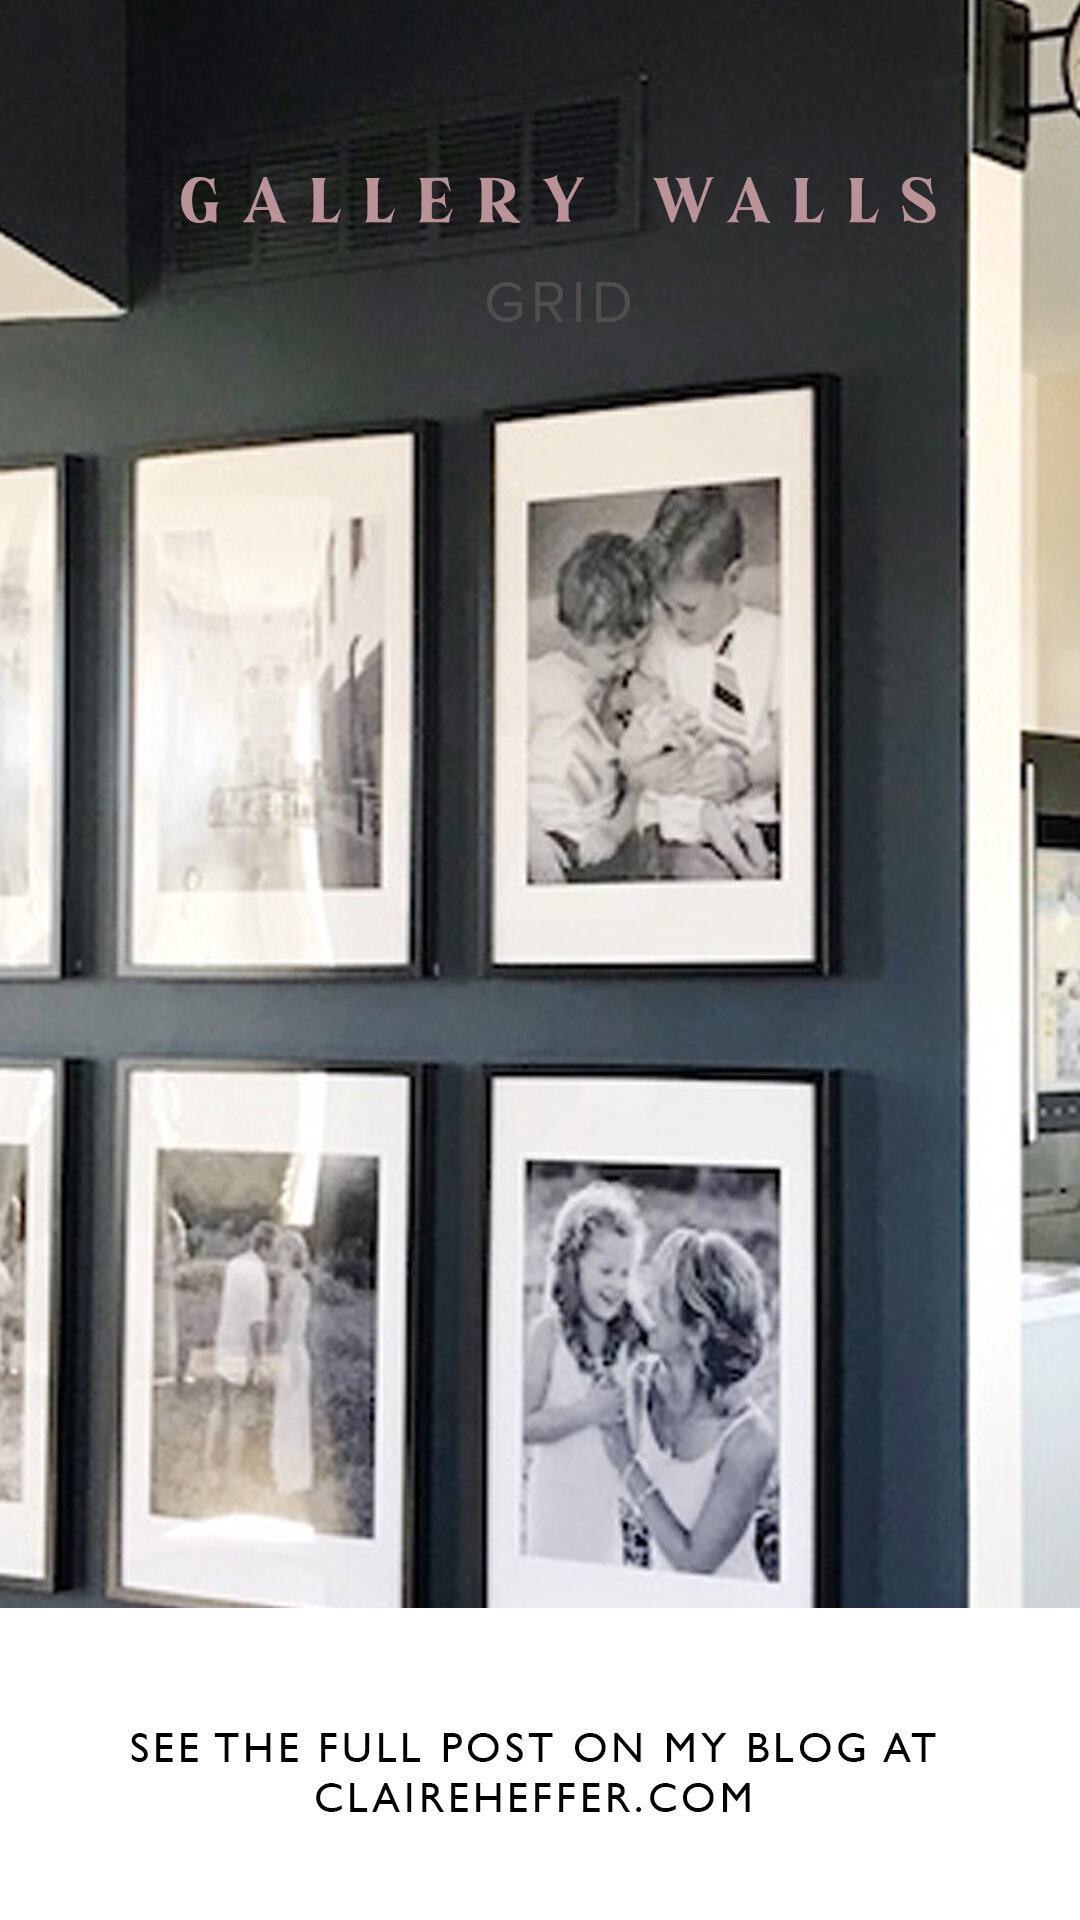
I thought I’d share with you the simplest one first; The Grid - now it is the simplest but because of that I think it’s also the most versatile. There are so many different ways you can create a Grid Gallery Wall that even with the numerous examples below I still haven’t covered them all.
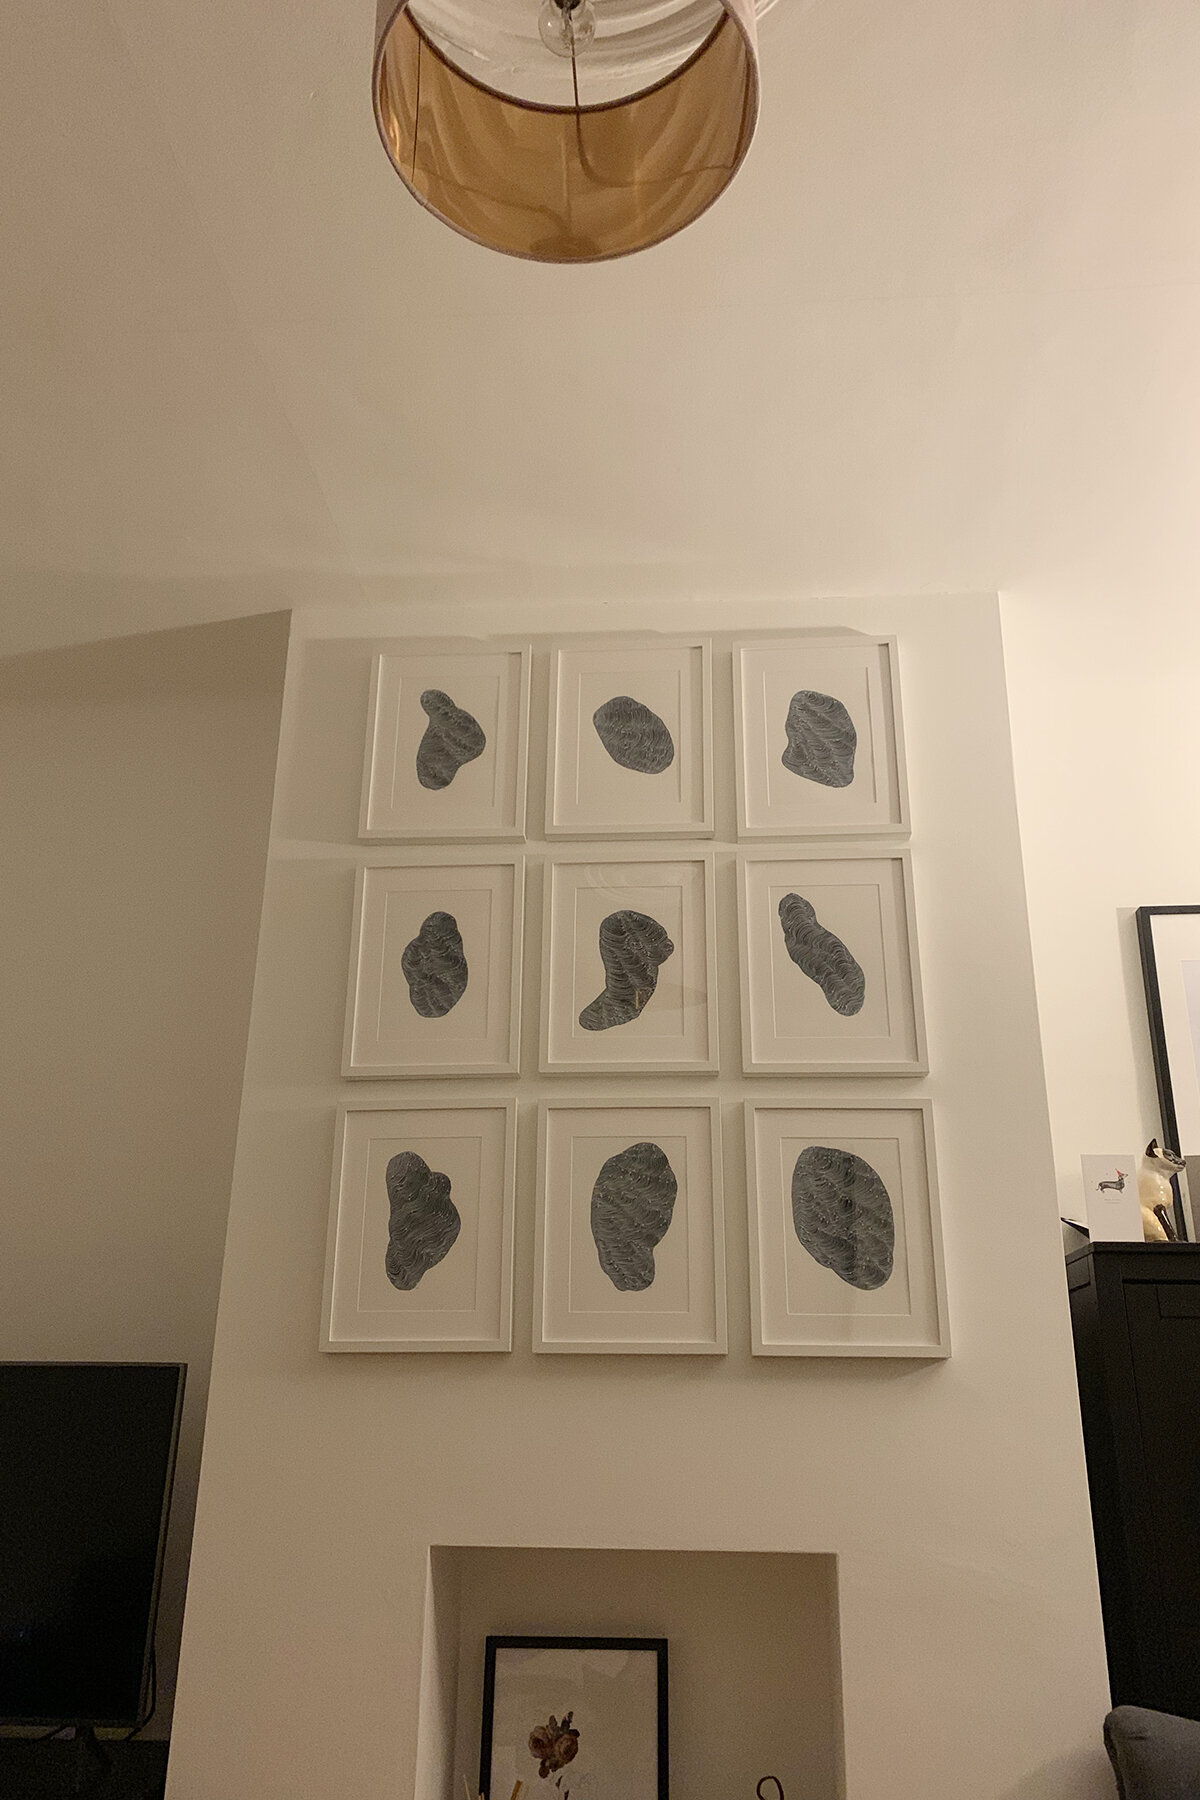
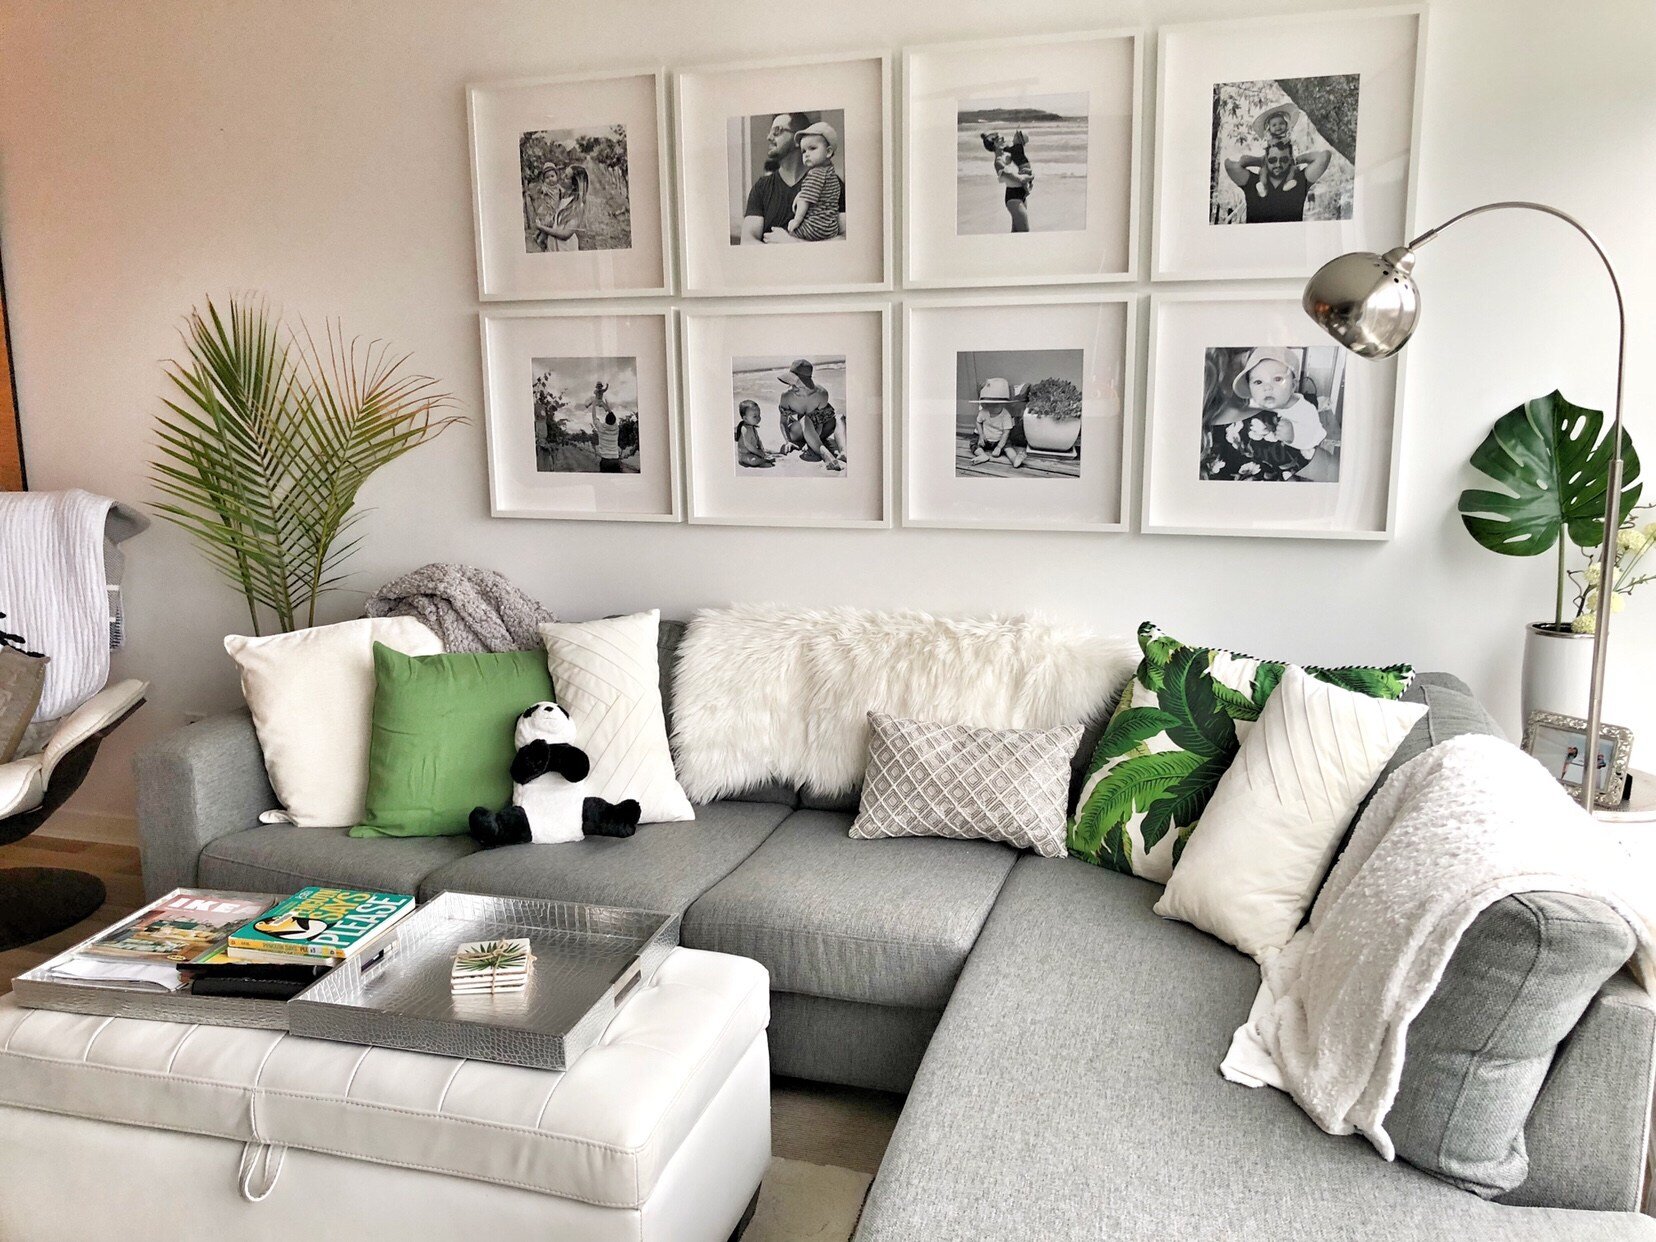
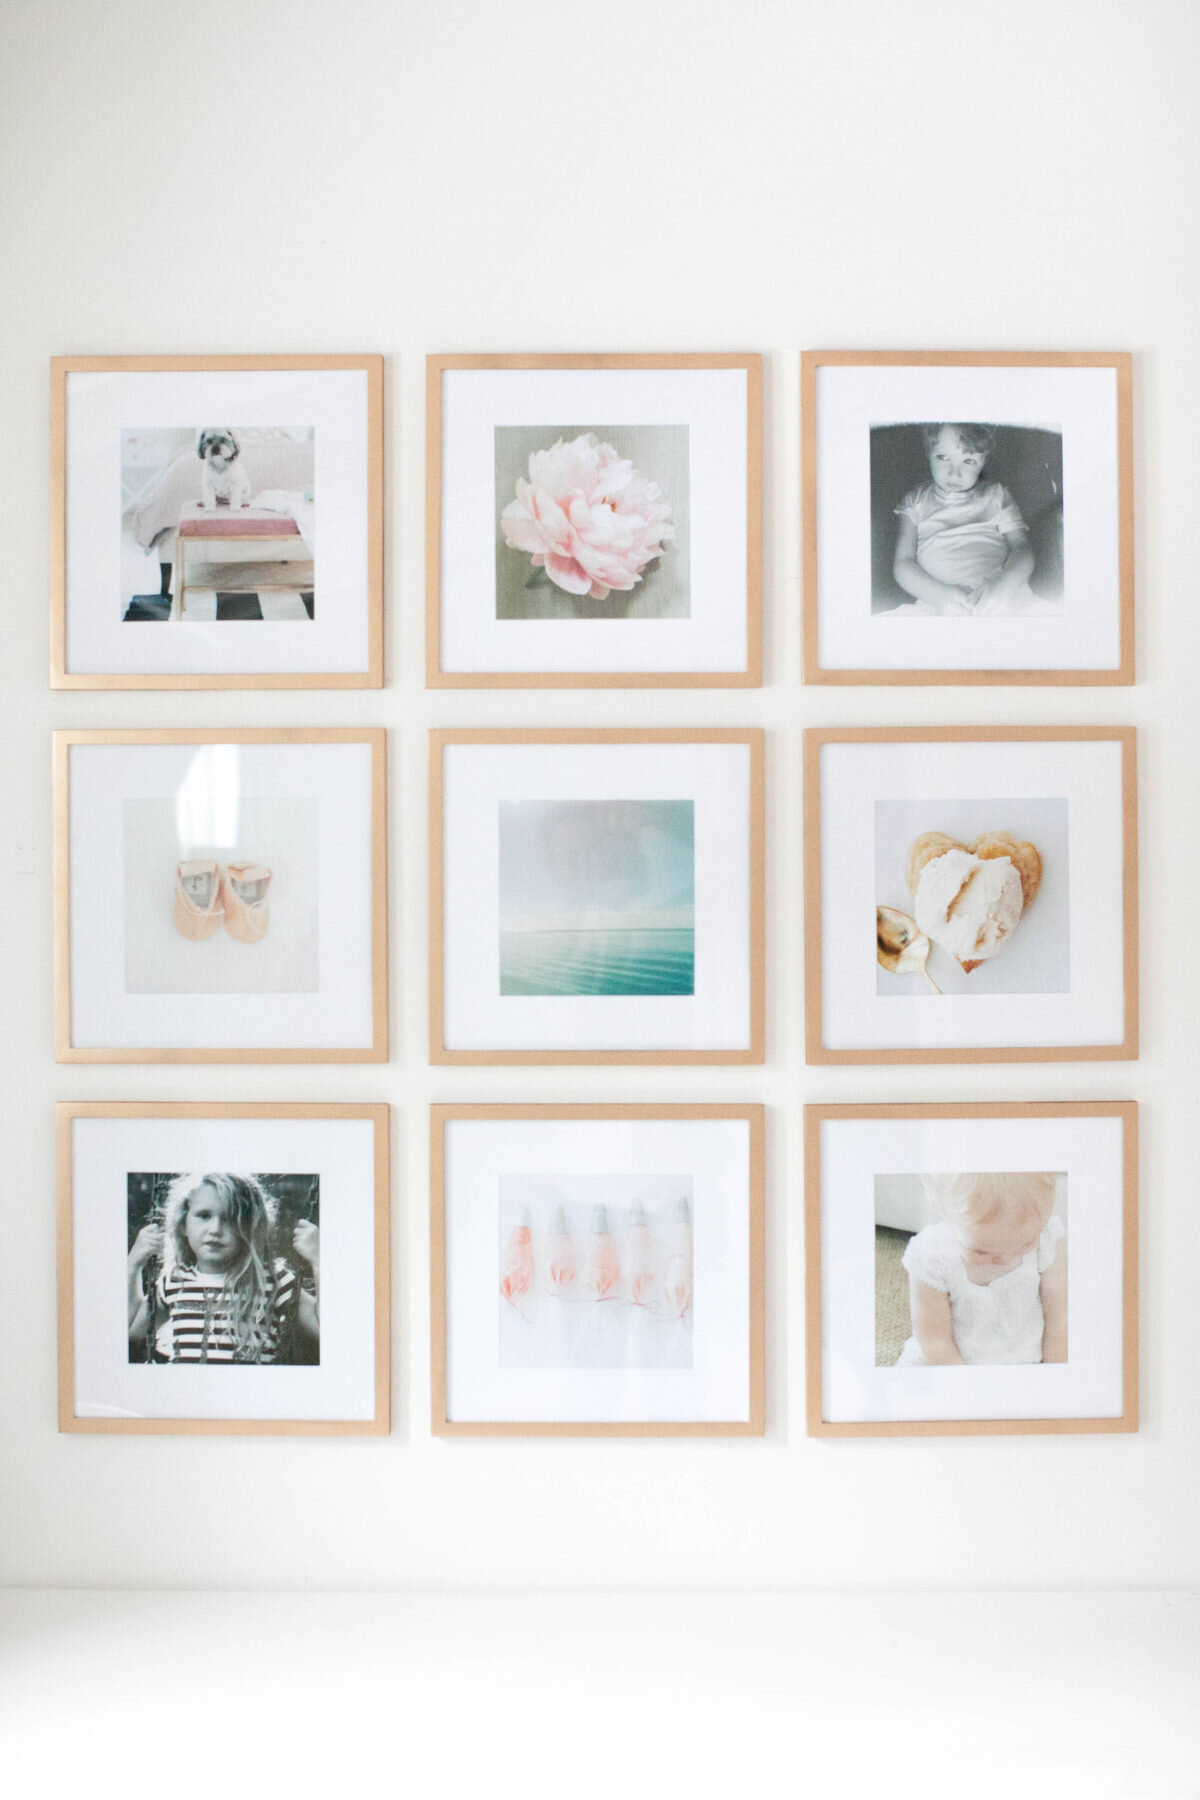
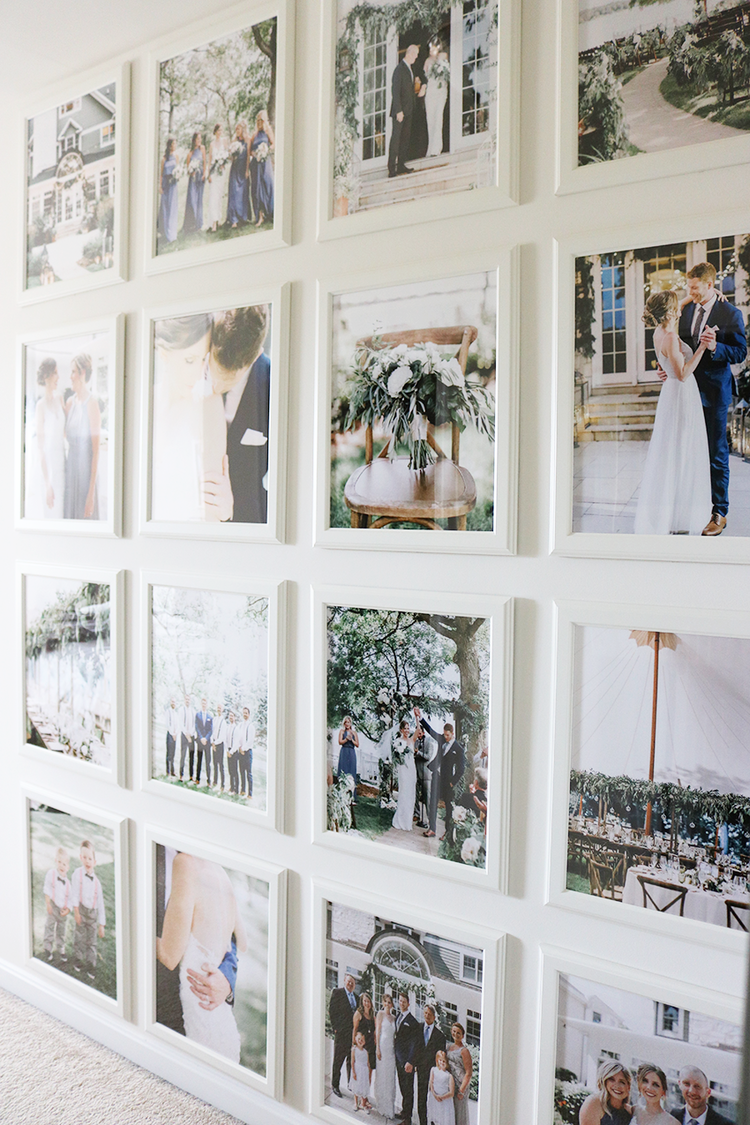
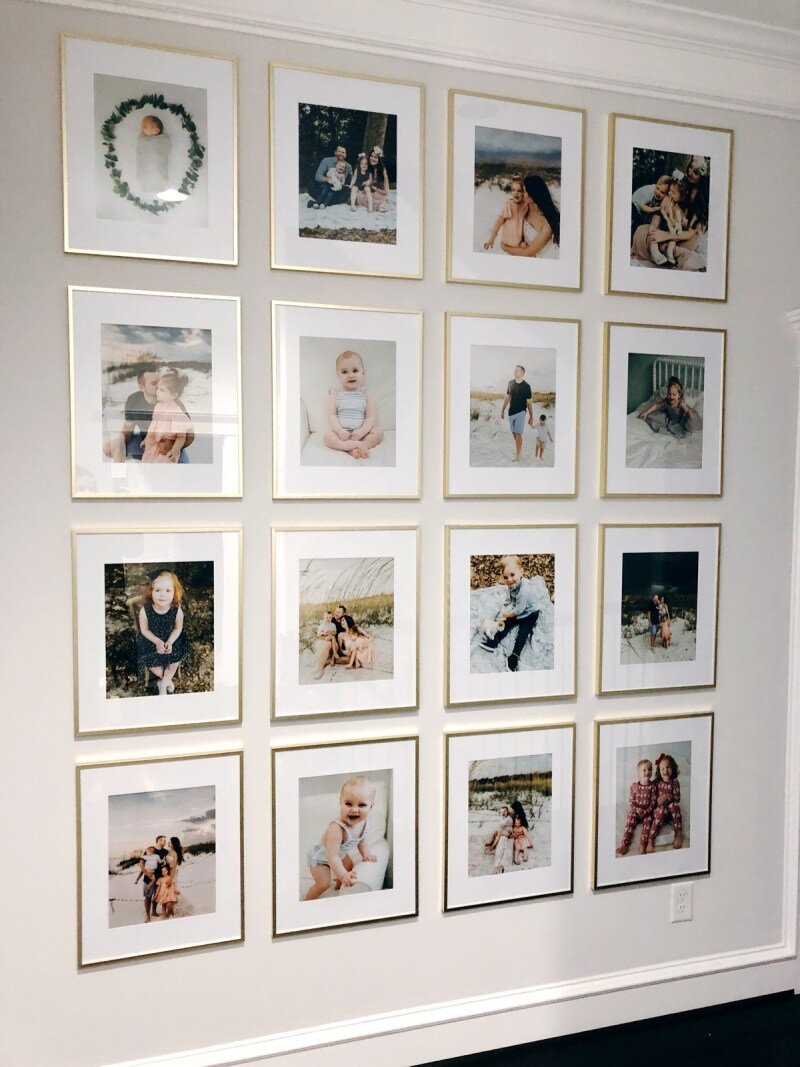
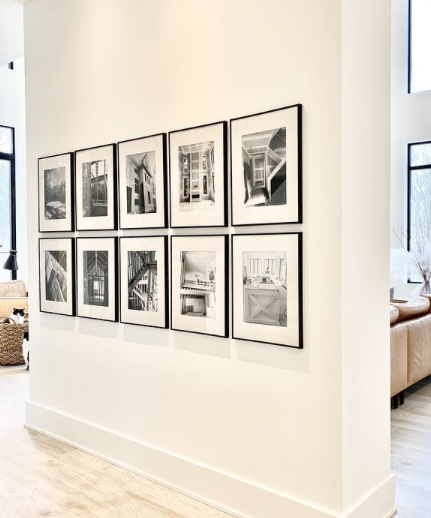
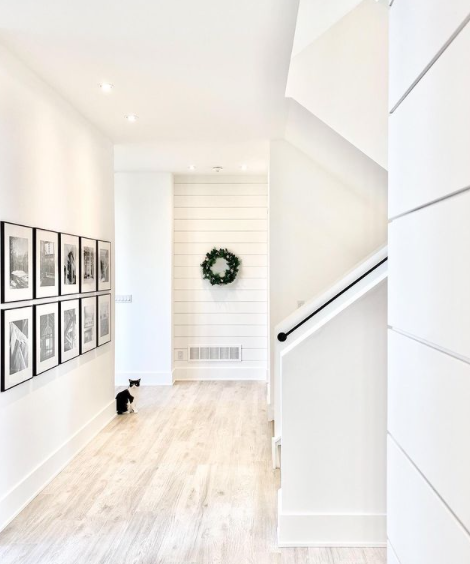
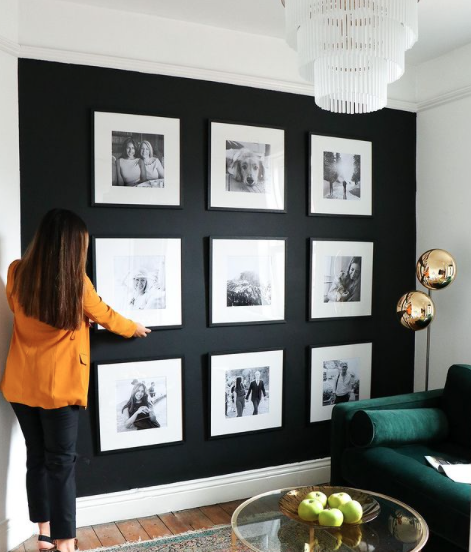
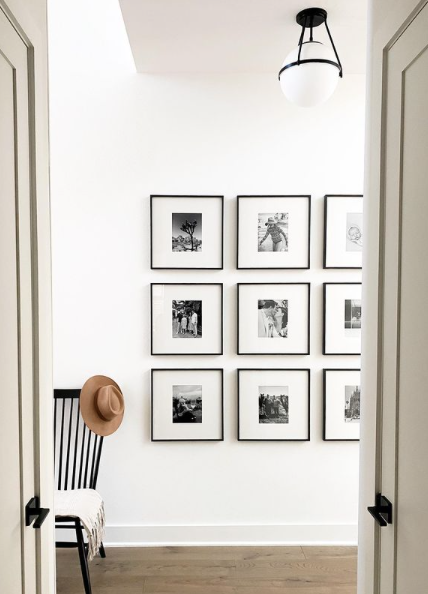
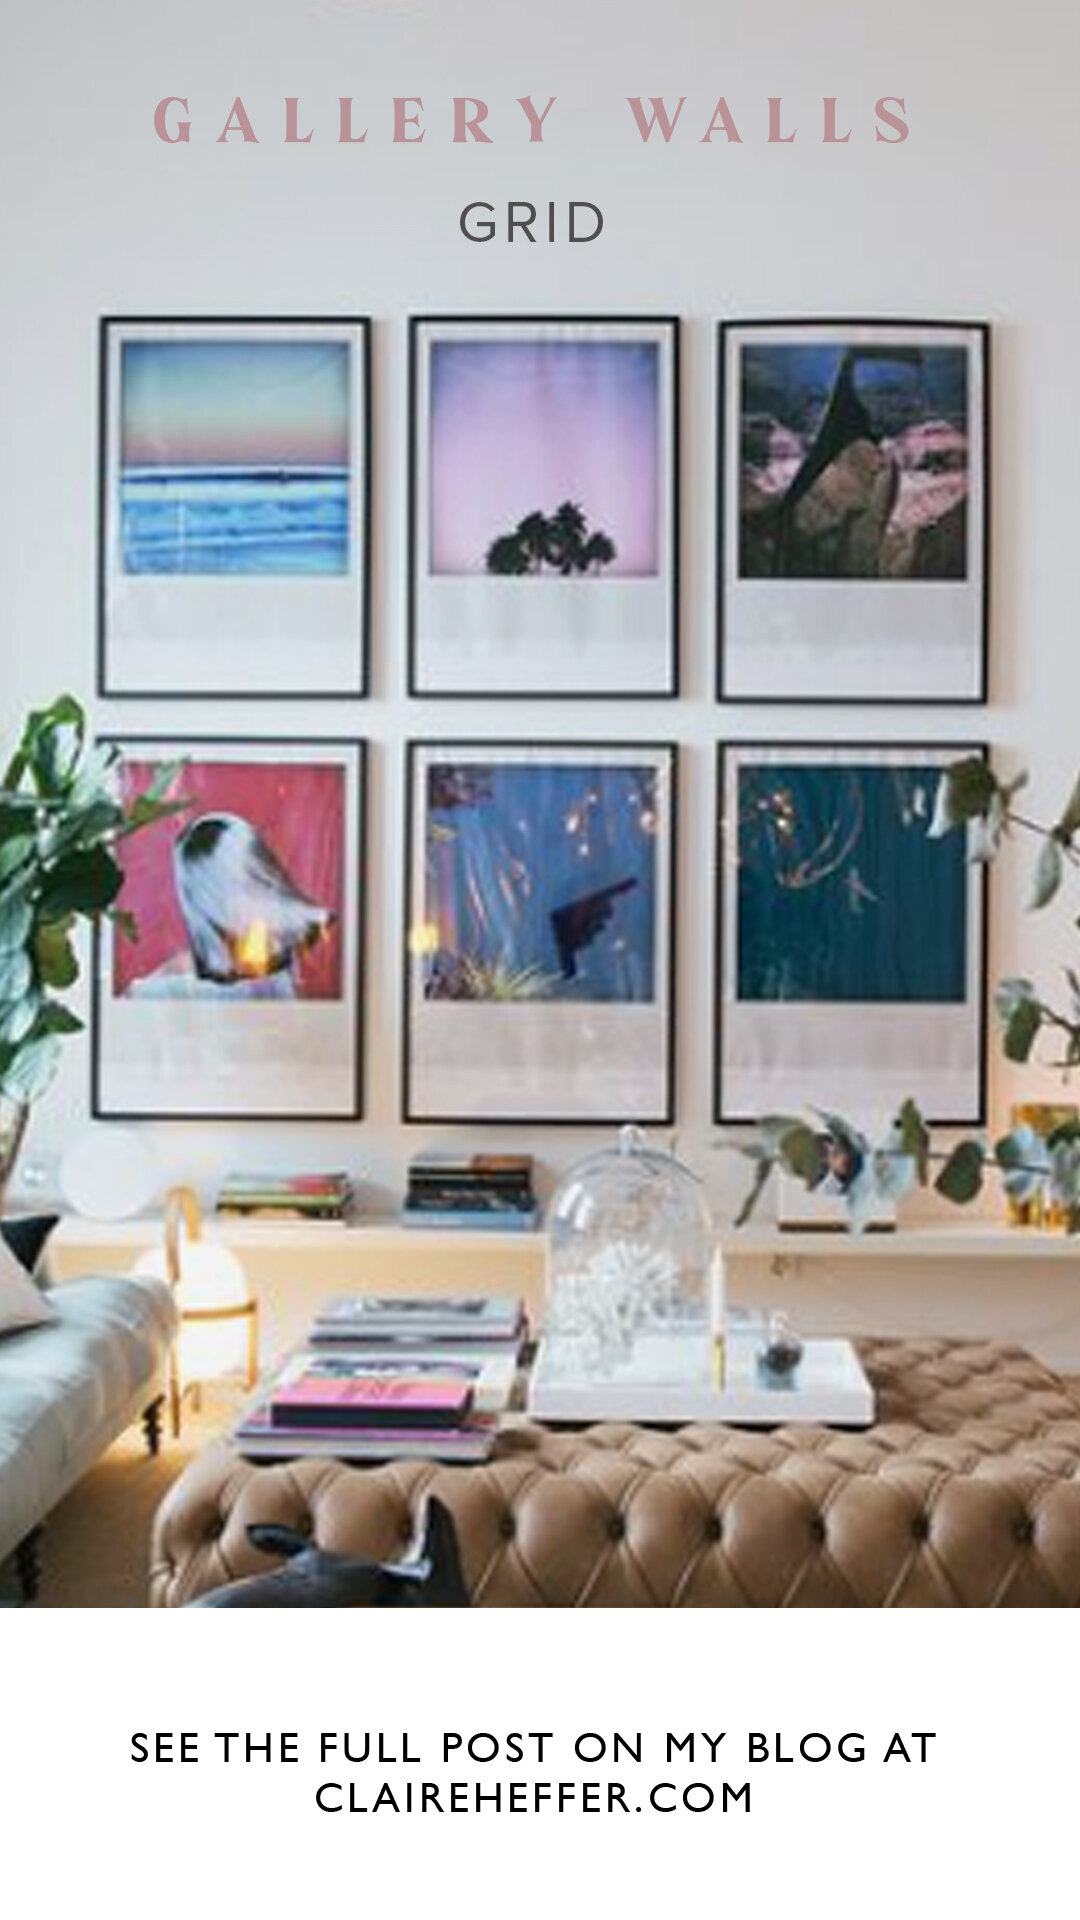
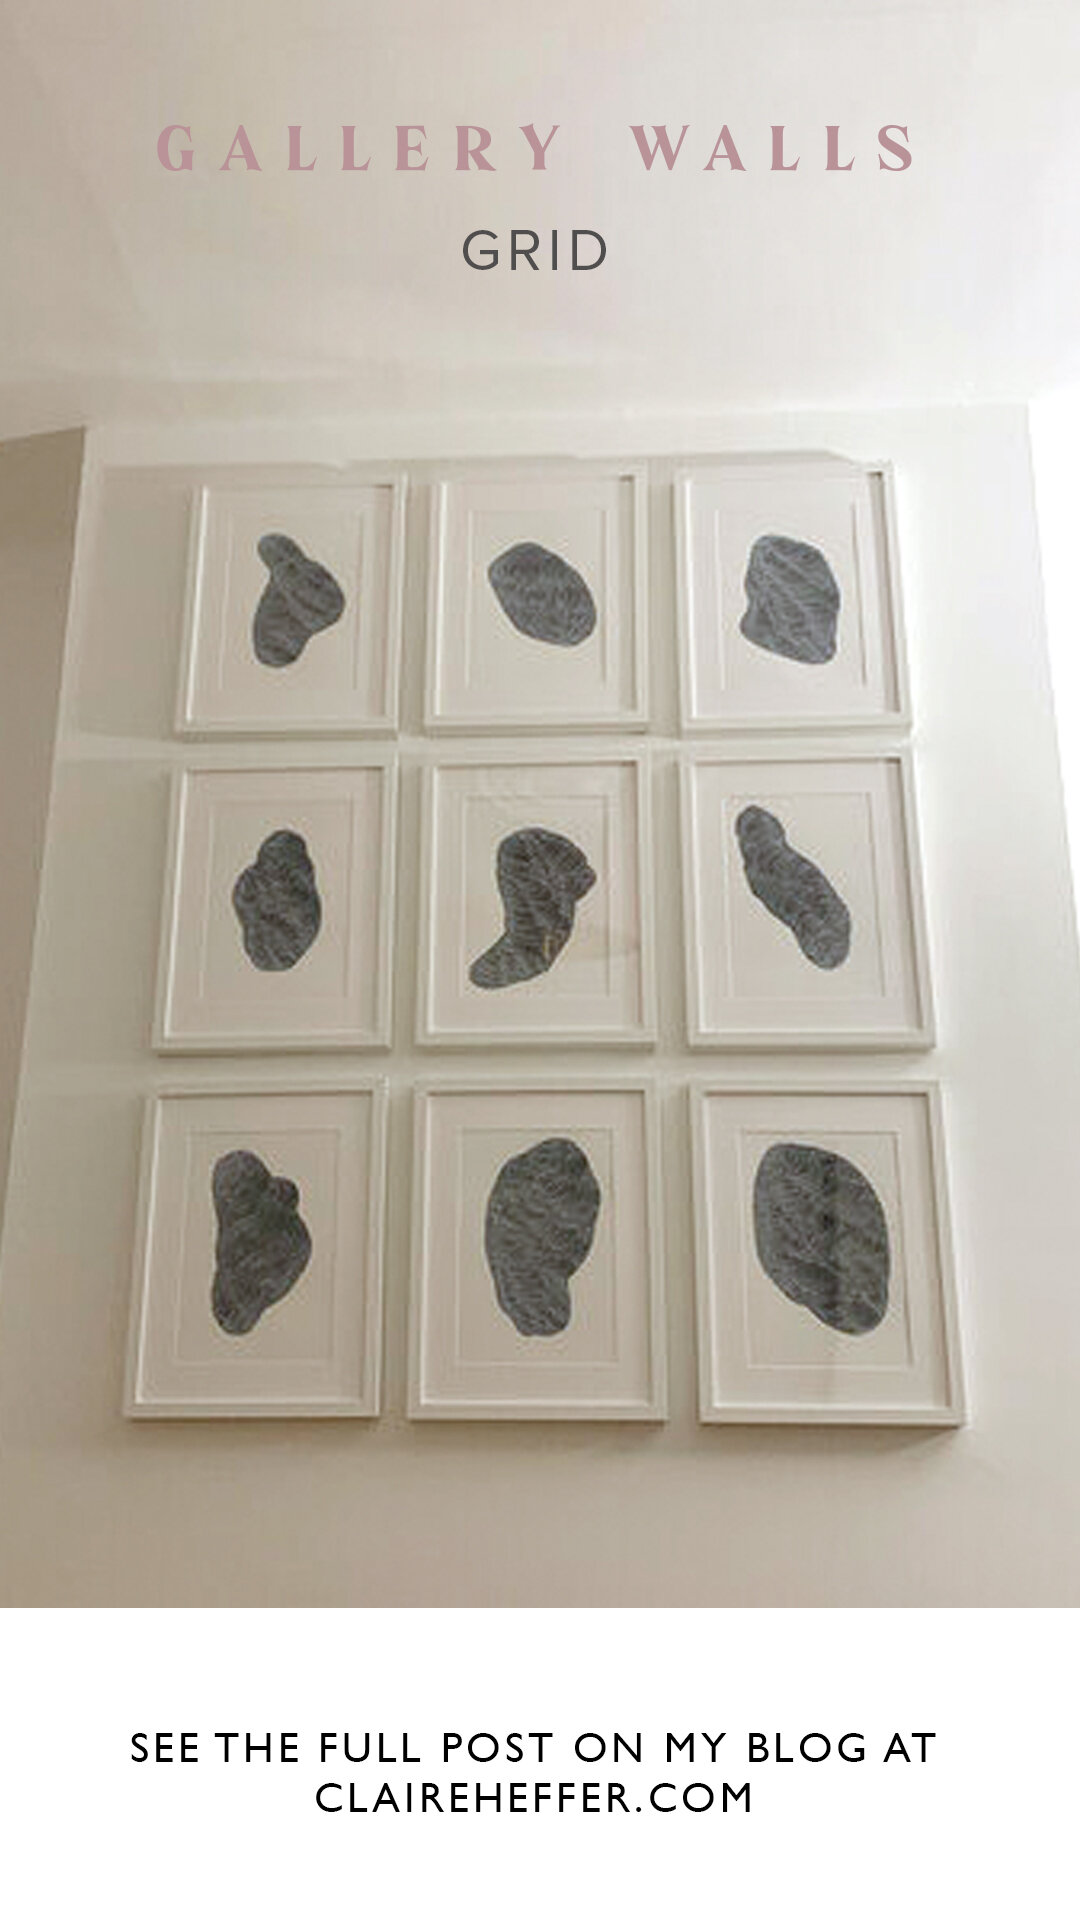
The first example is actually my own – the project that was a long time in the making (see the creation here) as I had envisioned and created these pieces with this space in mind, but it took me a while to get all the frames and get them on the wall.
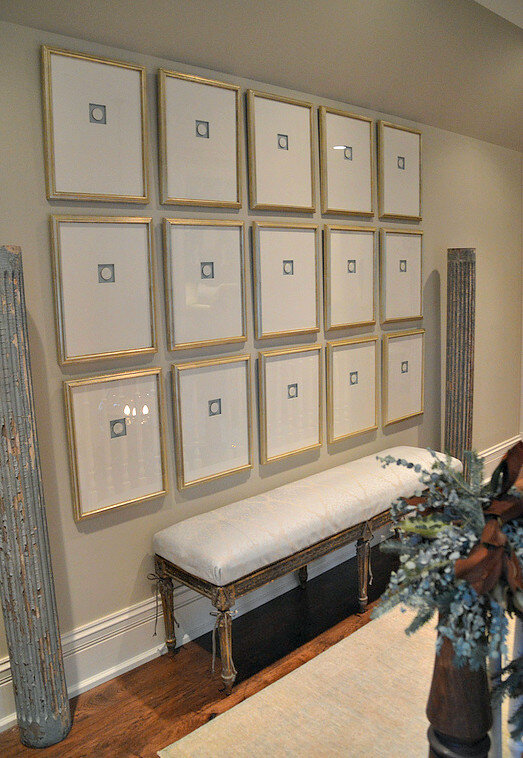
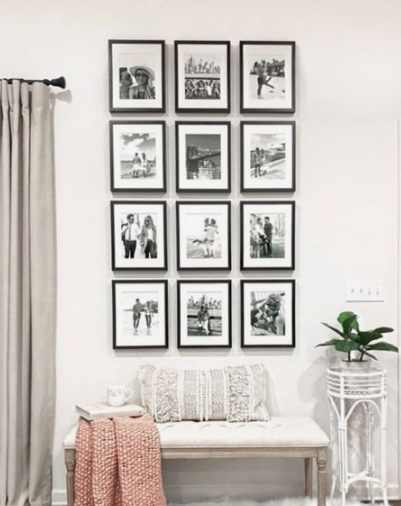
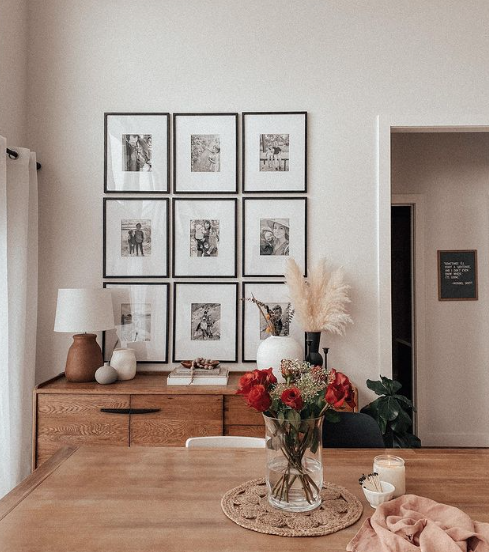
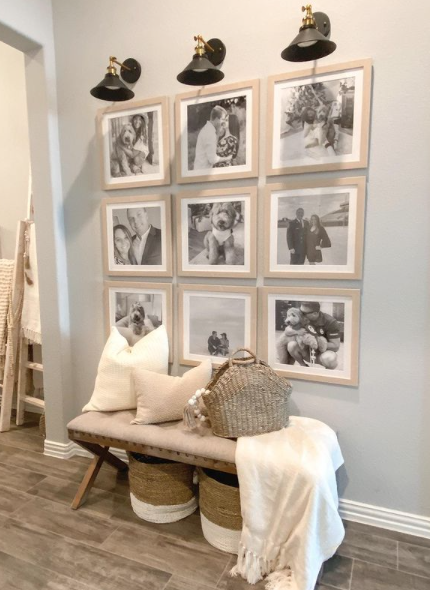
One thing I will say that makes The Grid Gallery Wall difficult is that it needs to be precise - you can tell if the frames are not perfectly aligned and this is hard to get right depending on what method you use; Click on the images for links and there’s different methods given for Gallery Wall installation; I hung my frames on the wall with screws but if I had found sound decent picture wire I probably would have used that as getting them all in line was difficult using this method.
I hope this post will give you some inspiration but as an overview here are the different ways you can implement Grid Gallery Walls;
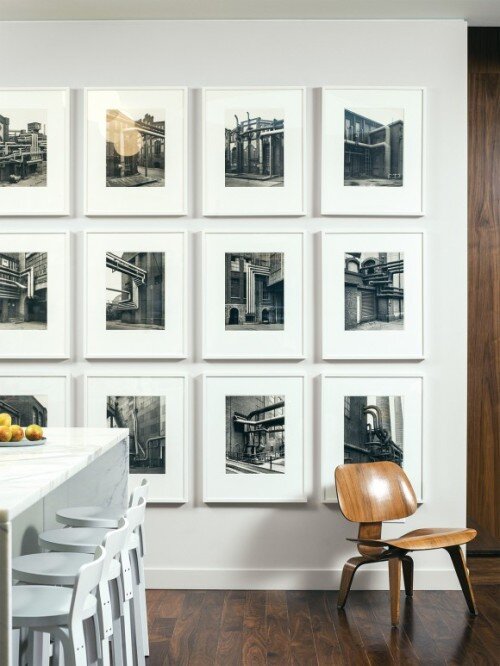
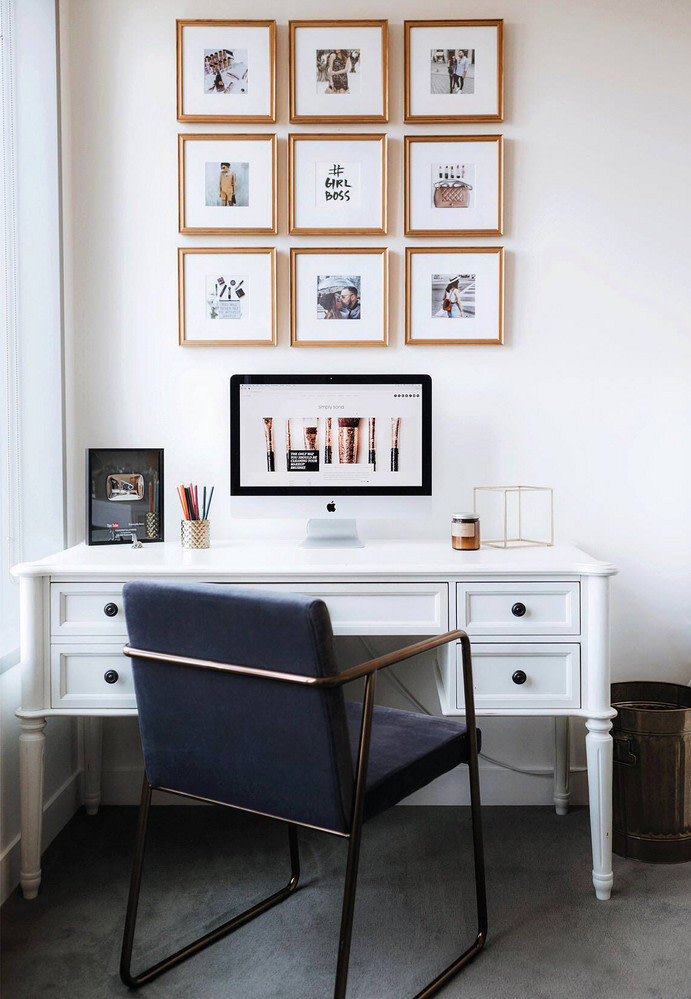
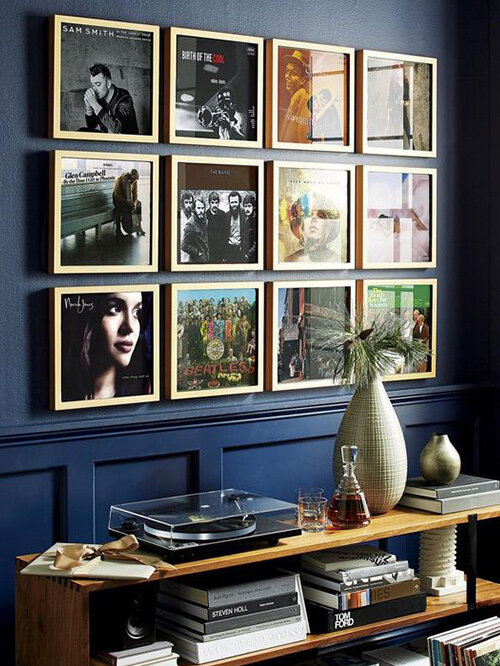
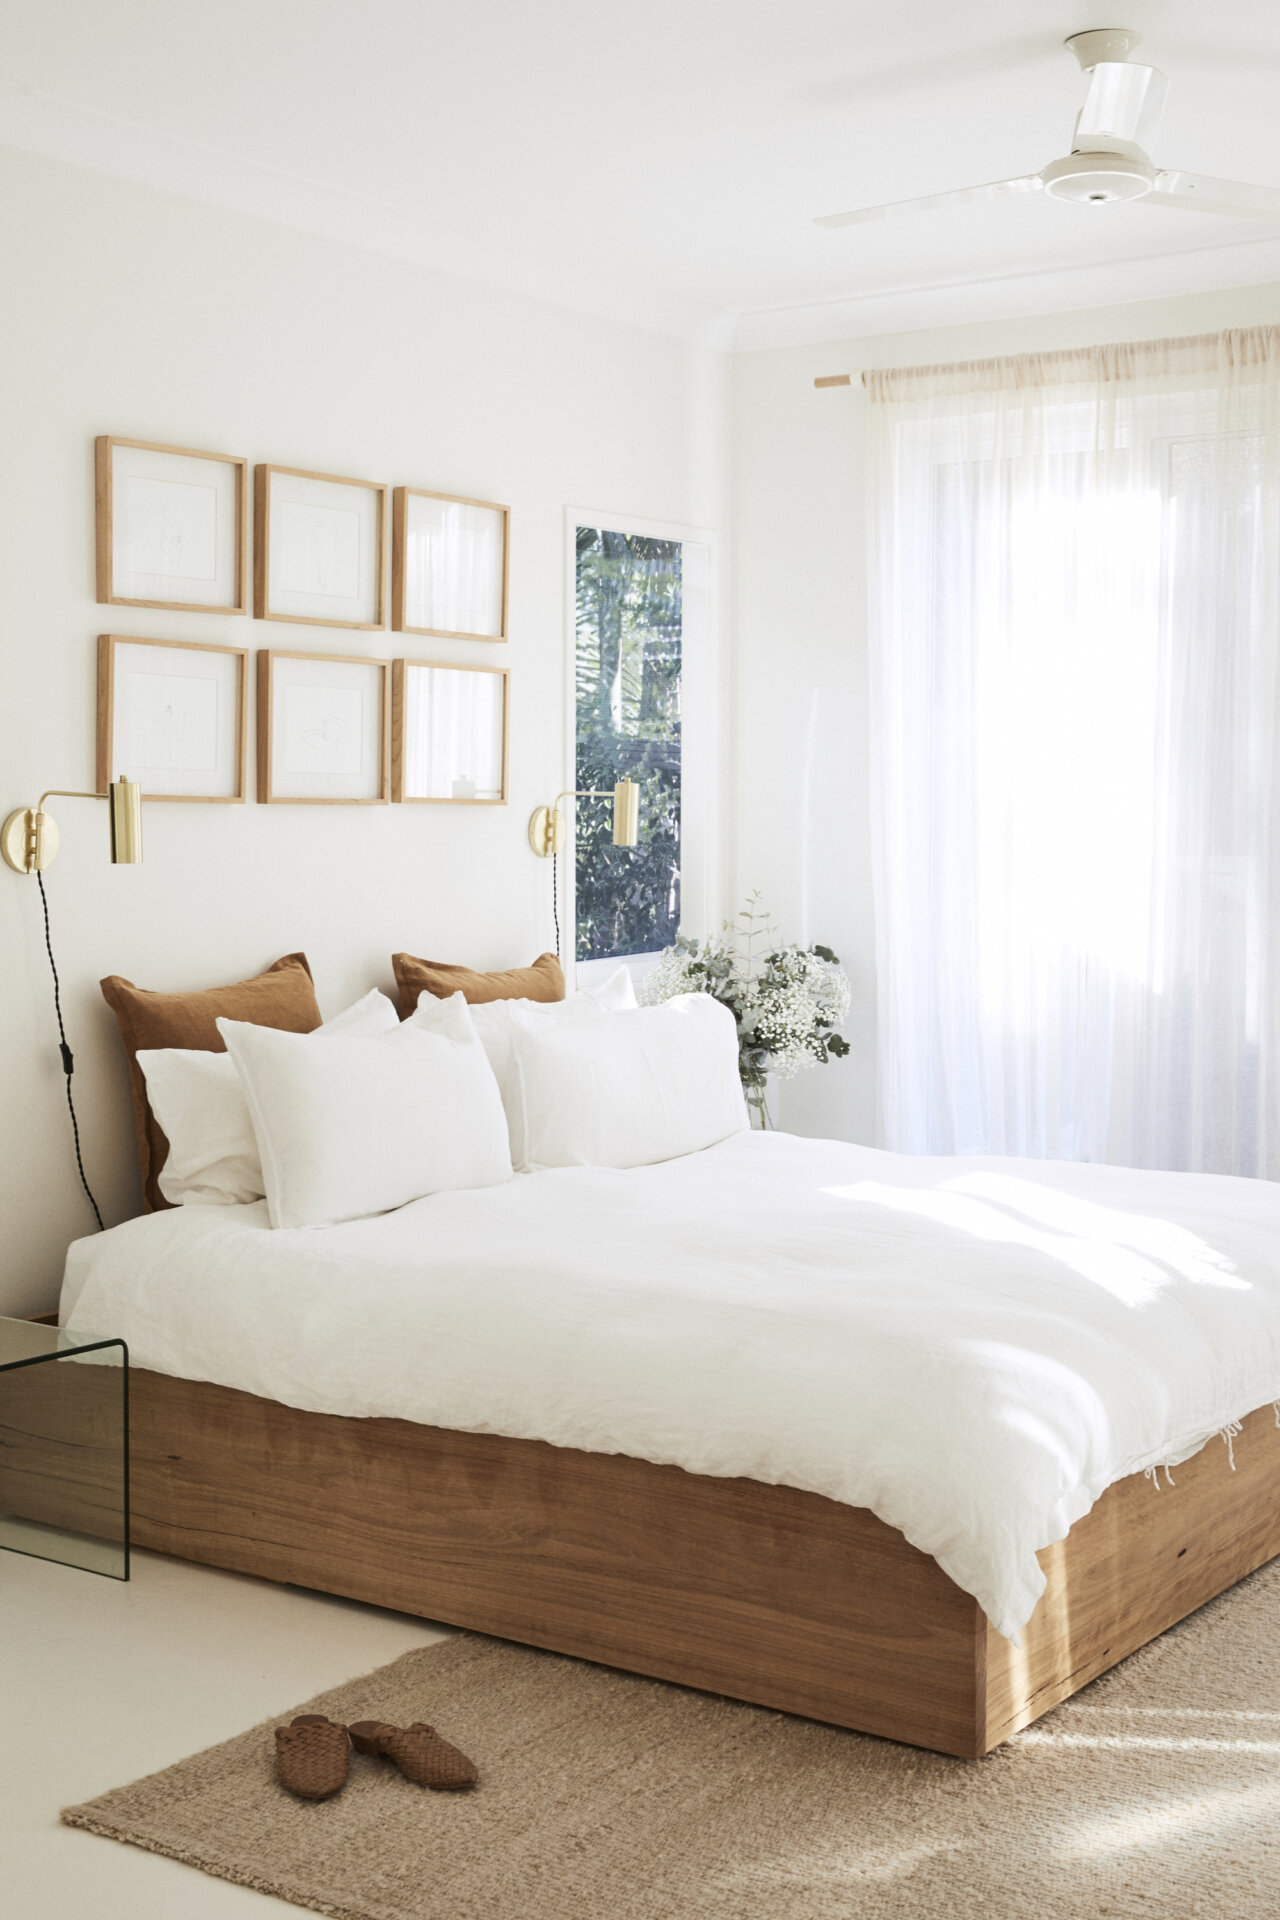
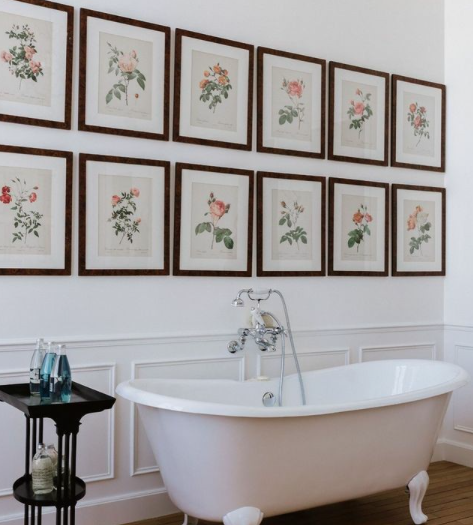
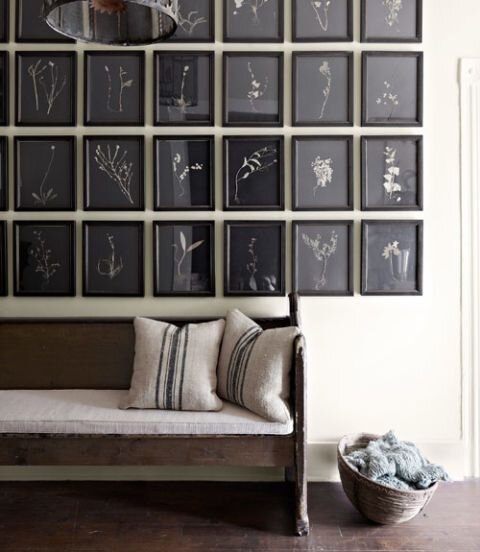
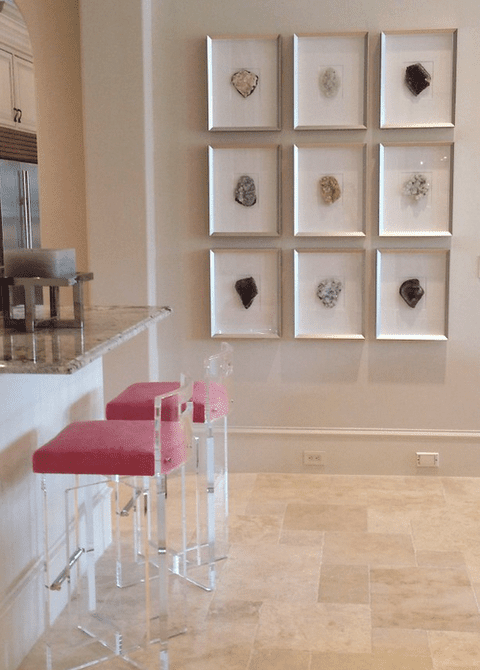
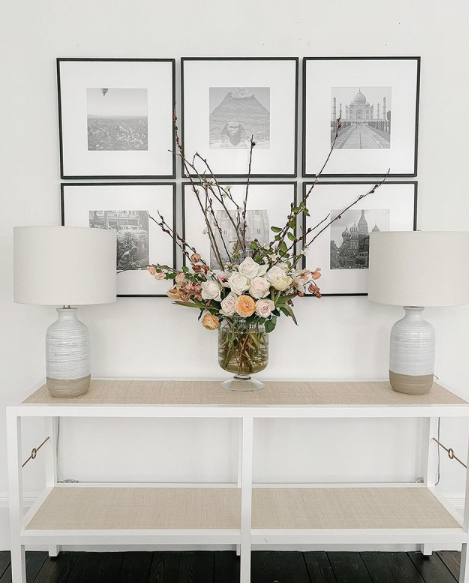
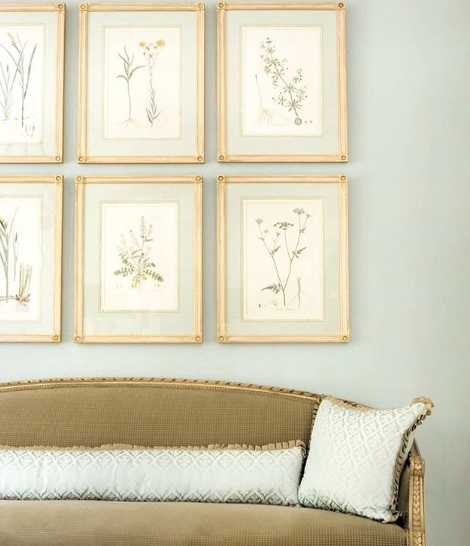
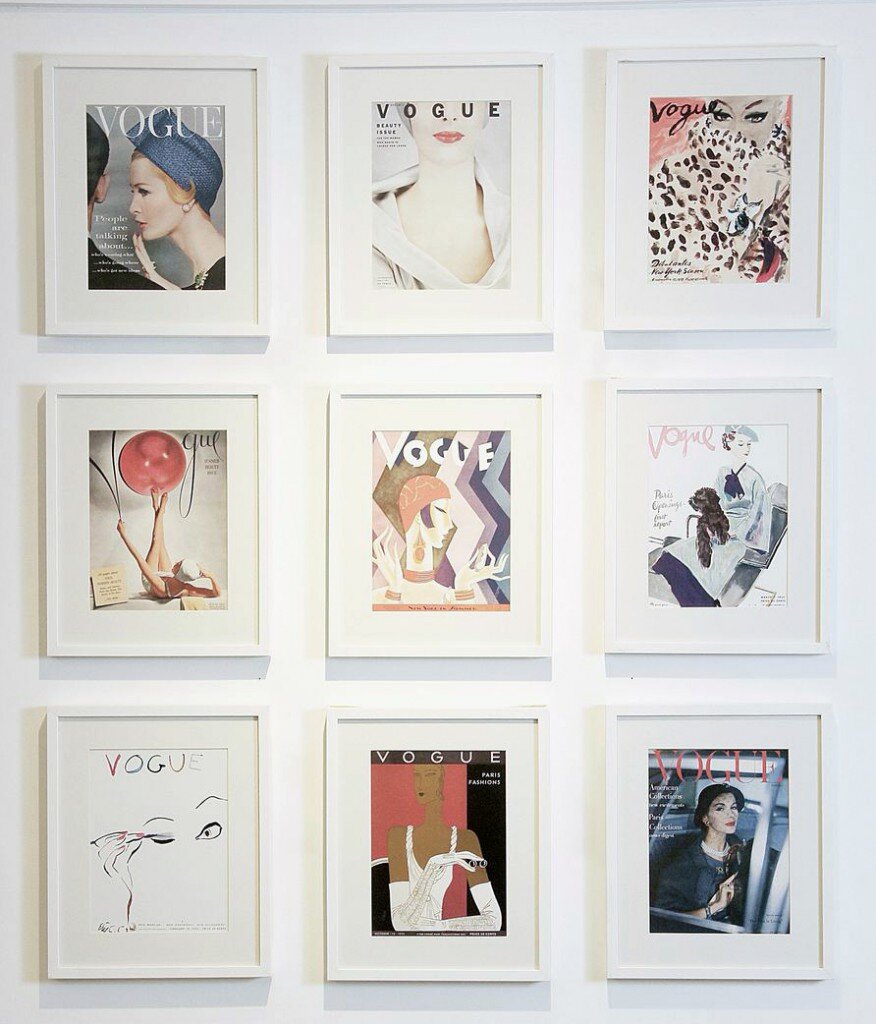
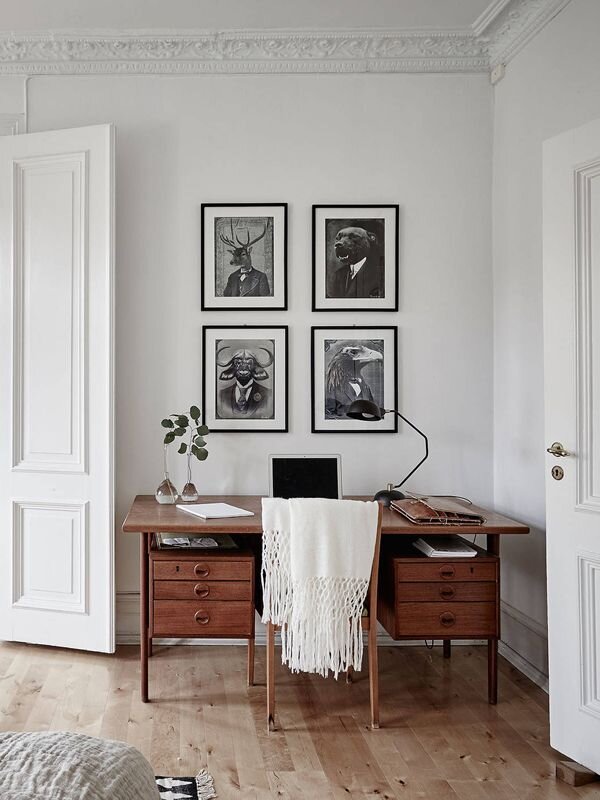
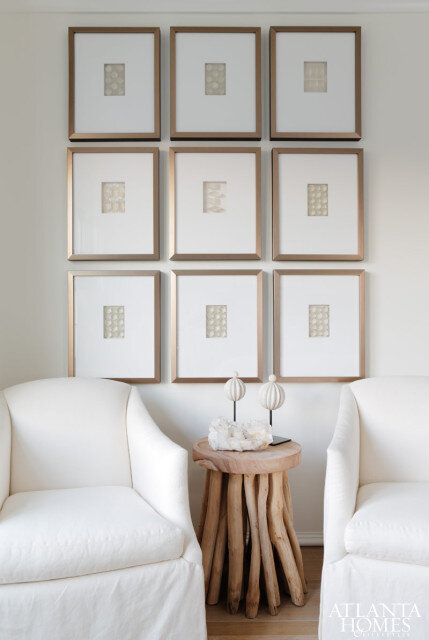
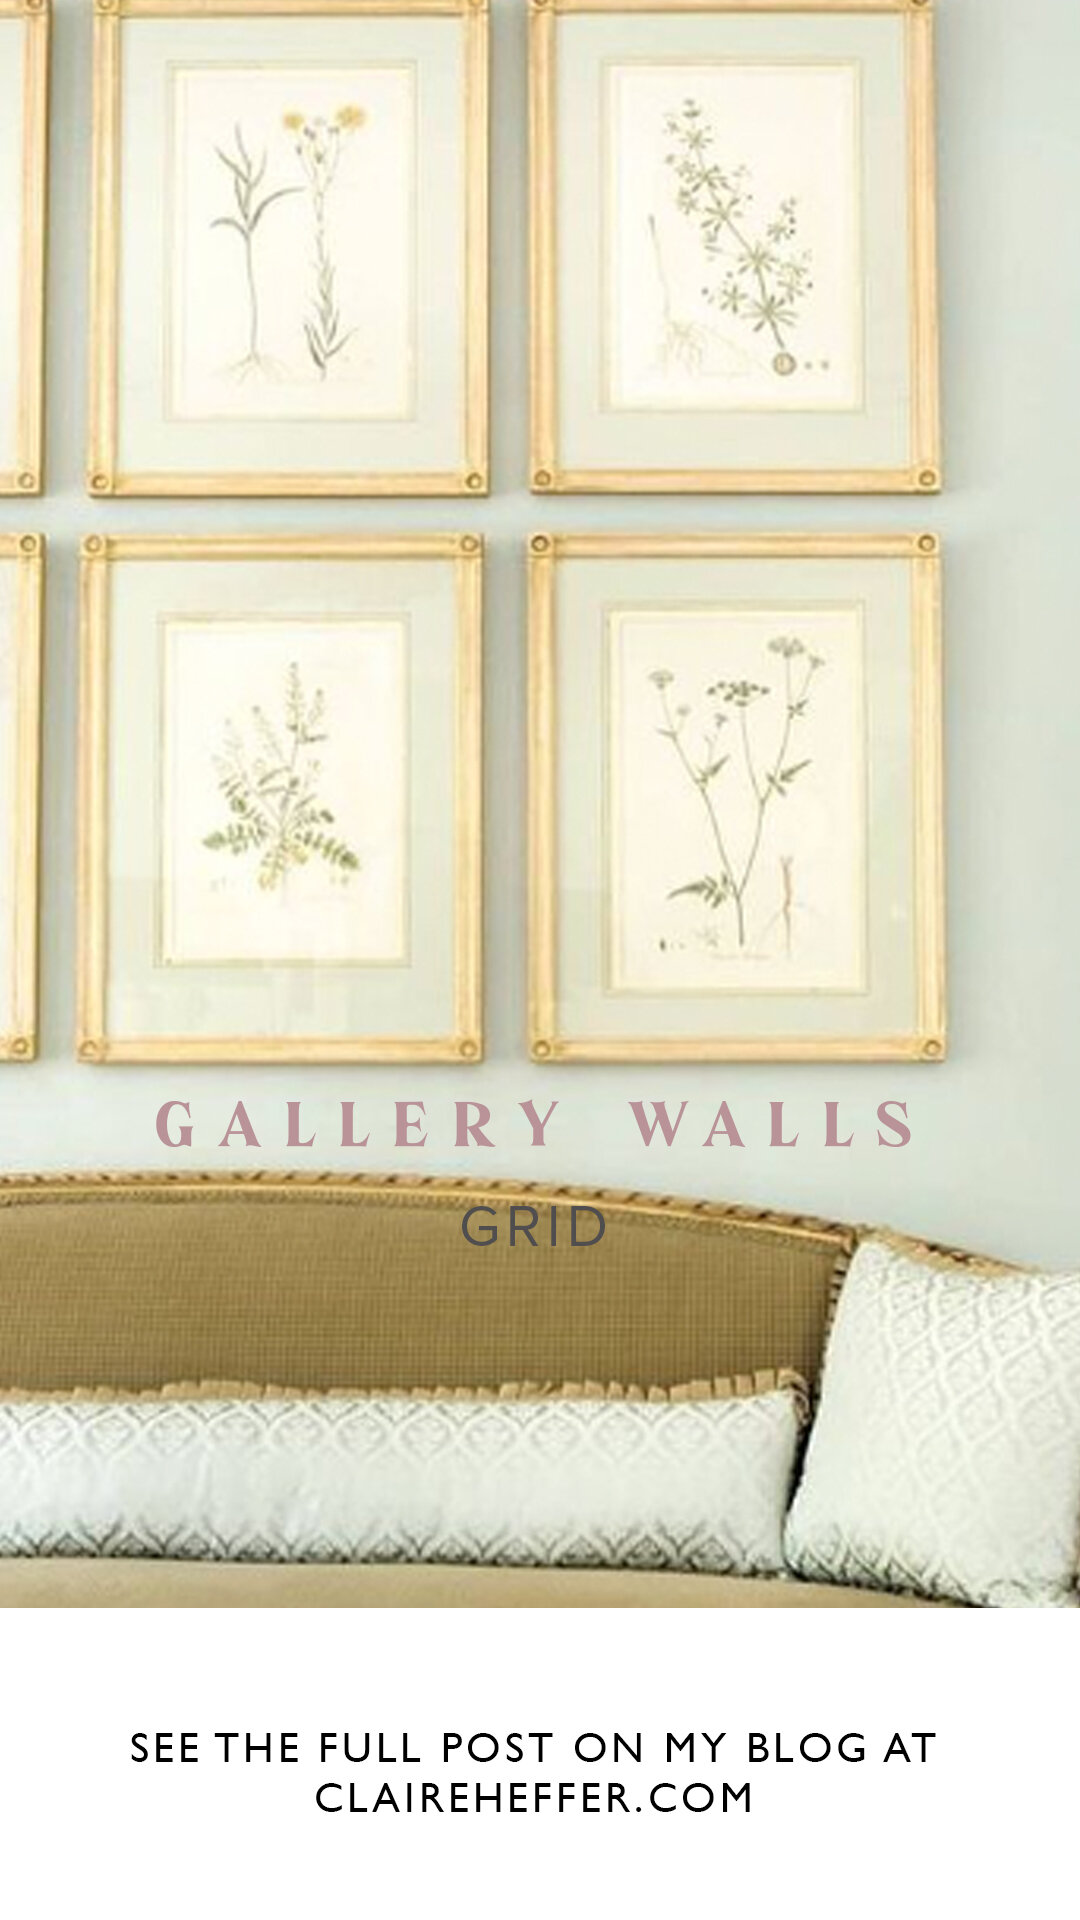
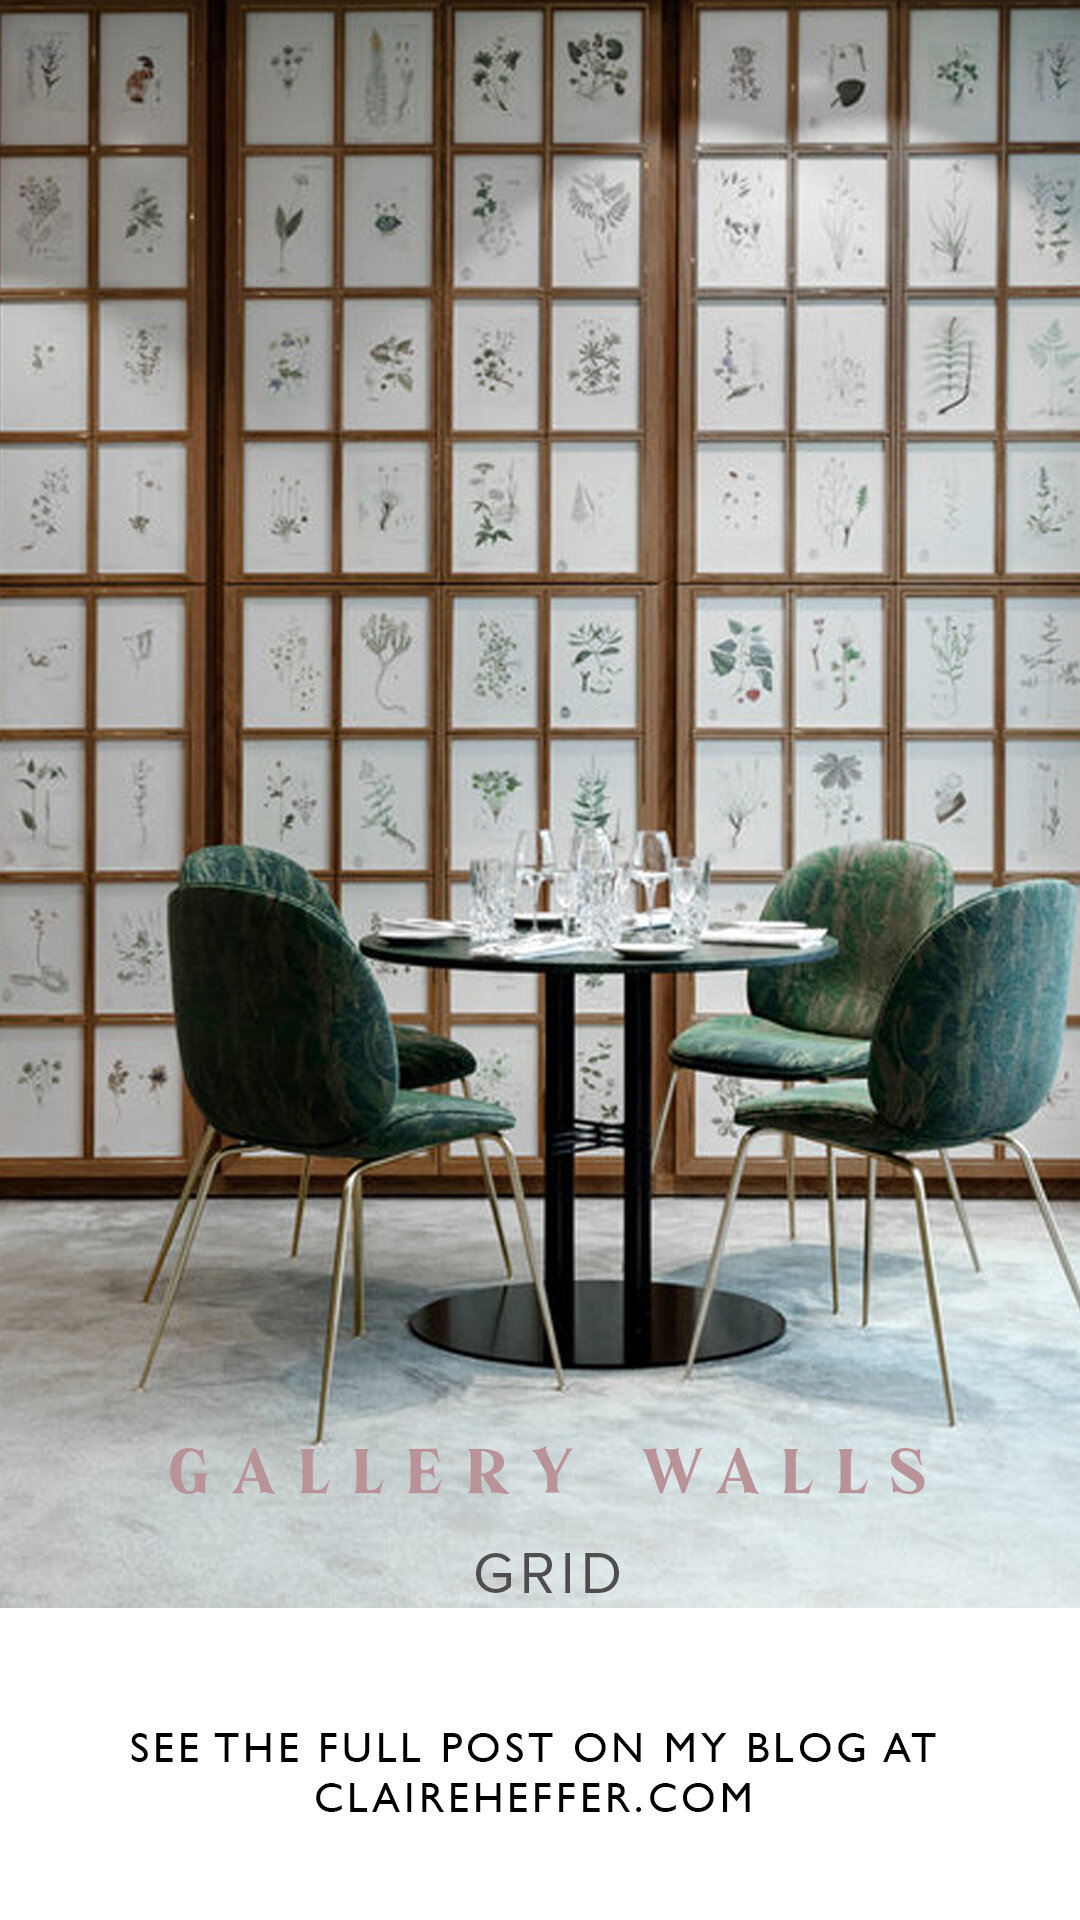
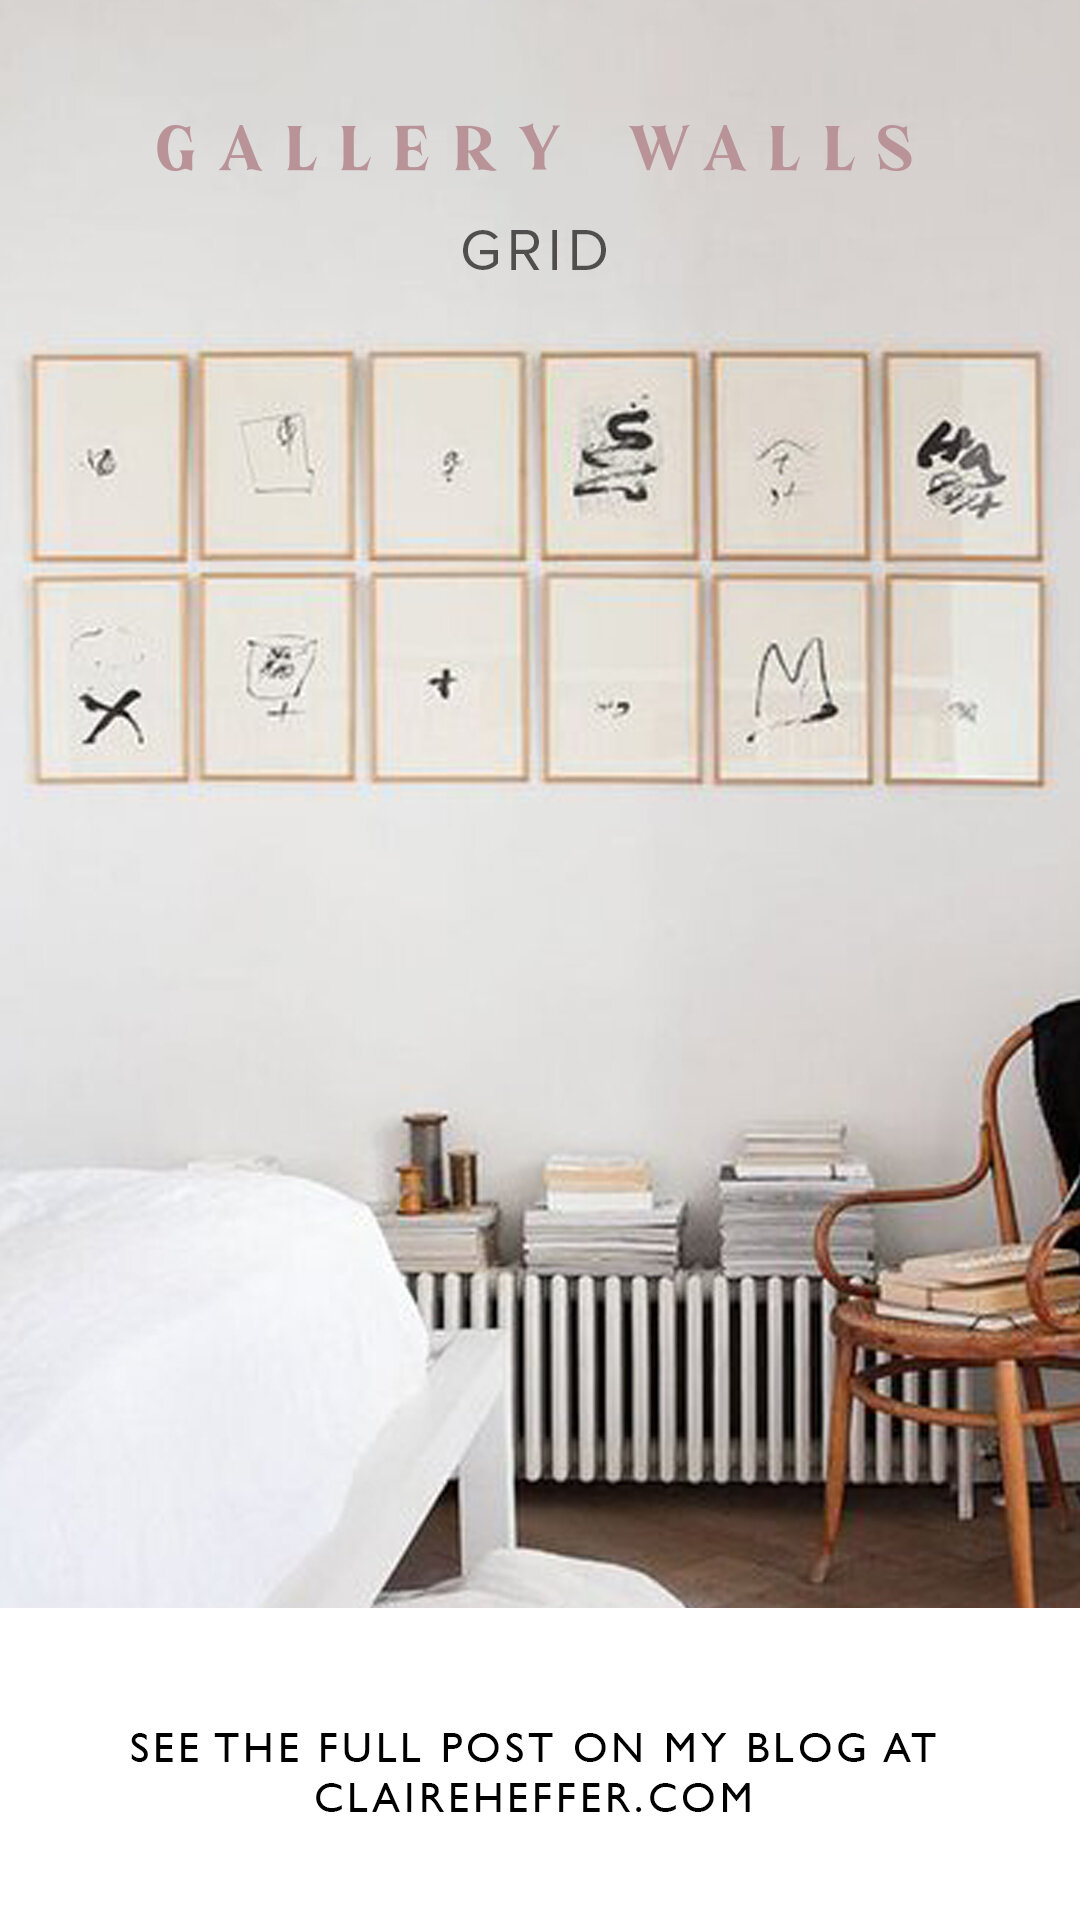
Keep the theme the same; different variants of the same type of things are great for the grid – everything is the same size and uniform, but the differences are what make it stand out.
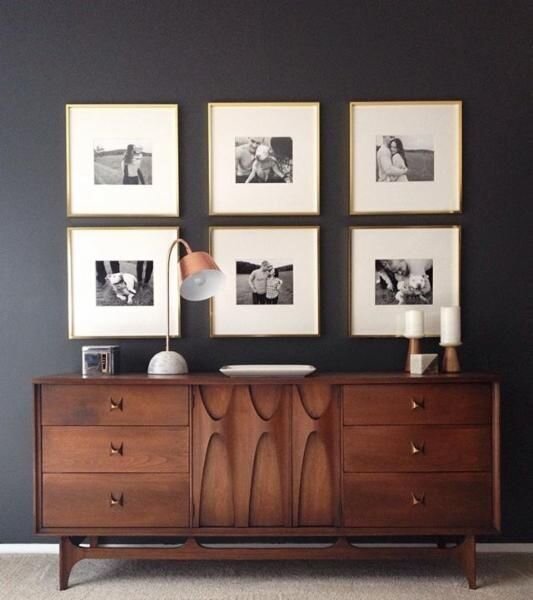
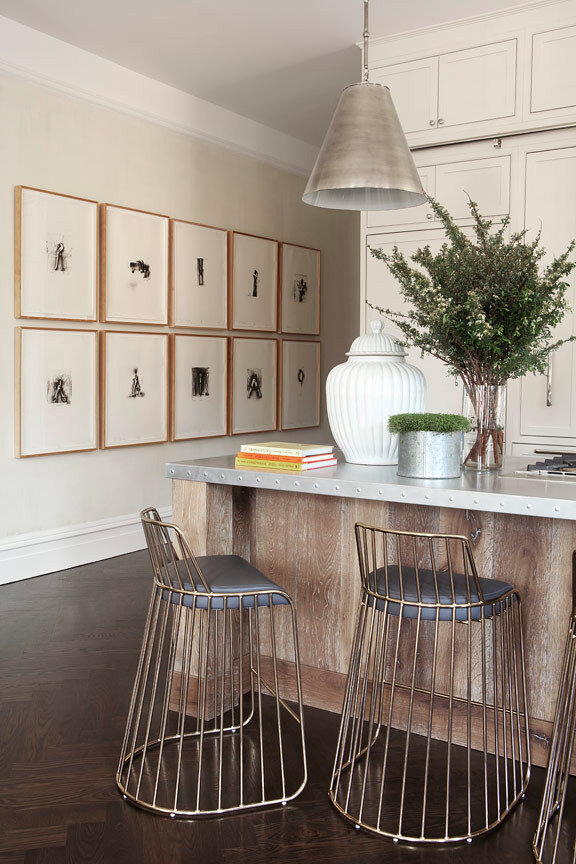
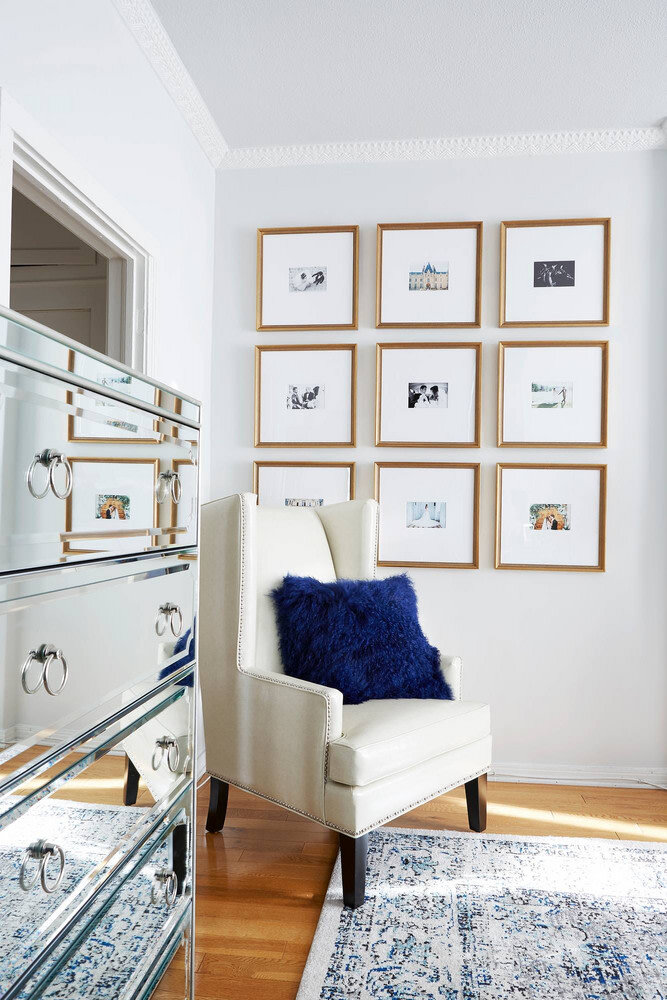
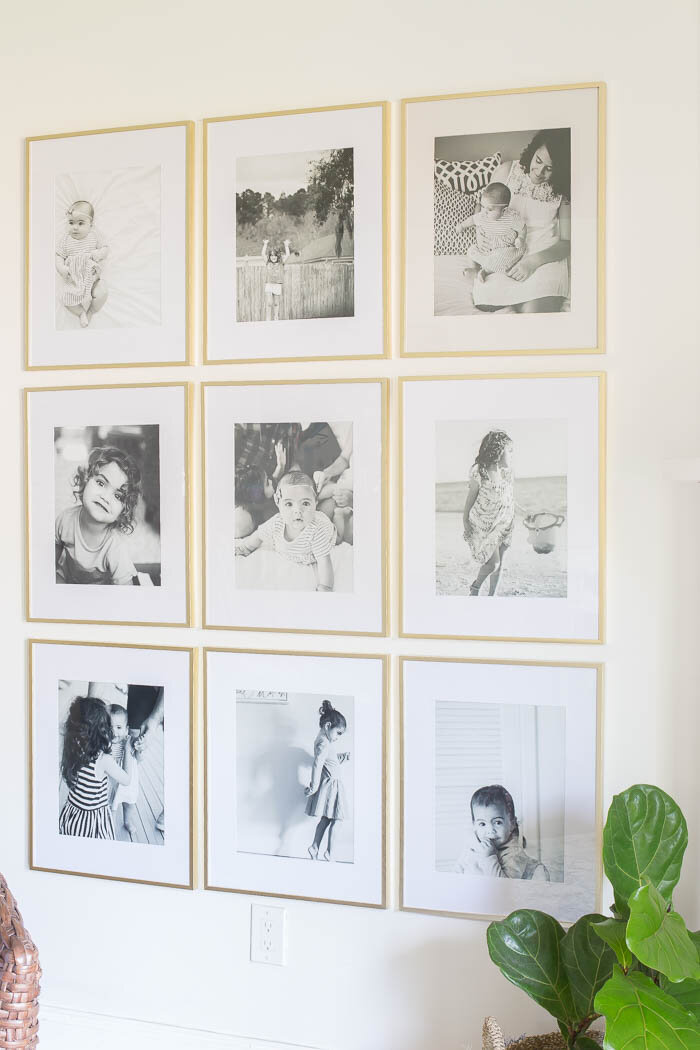
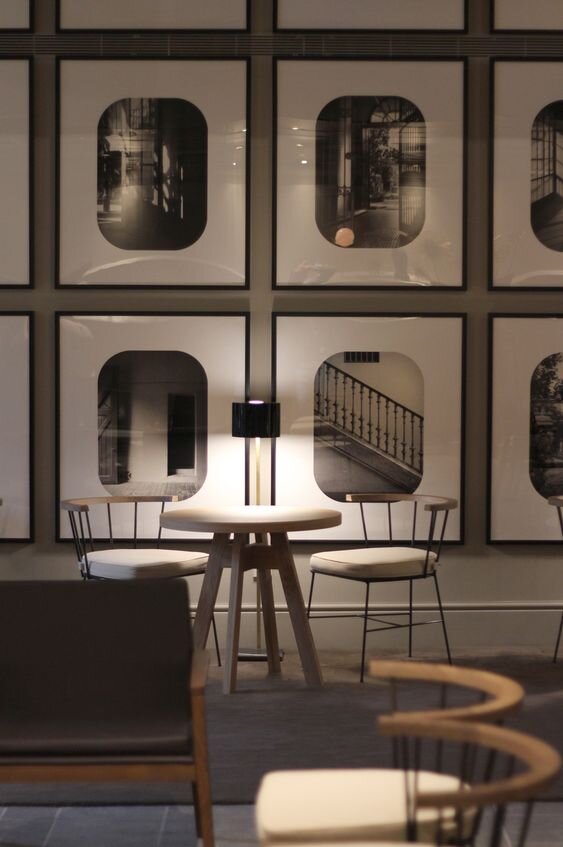
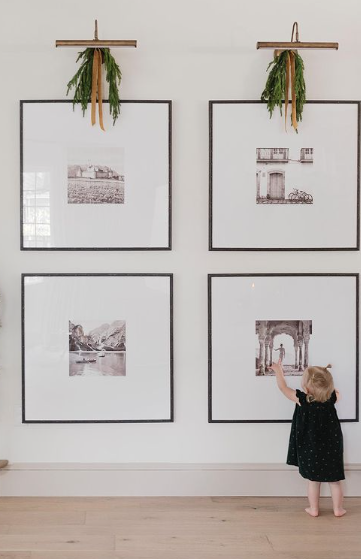
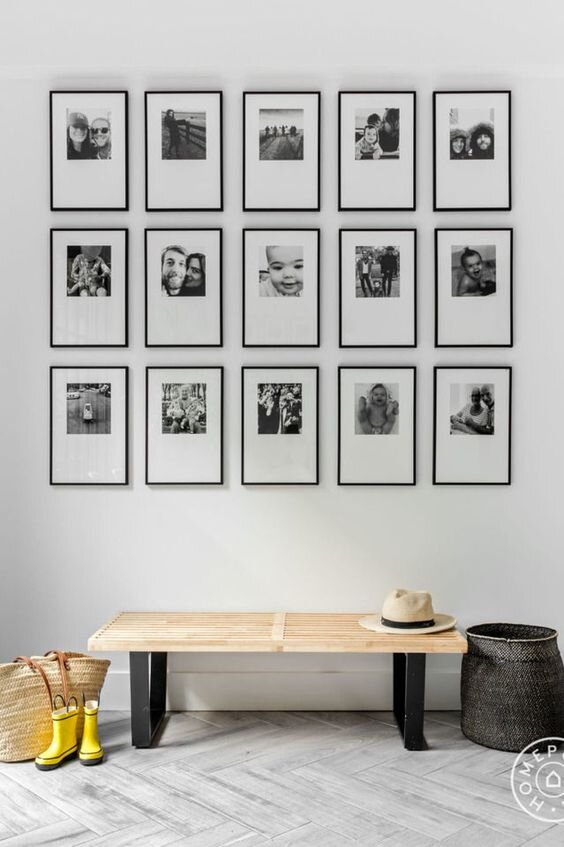
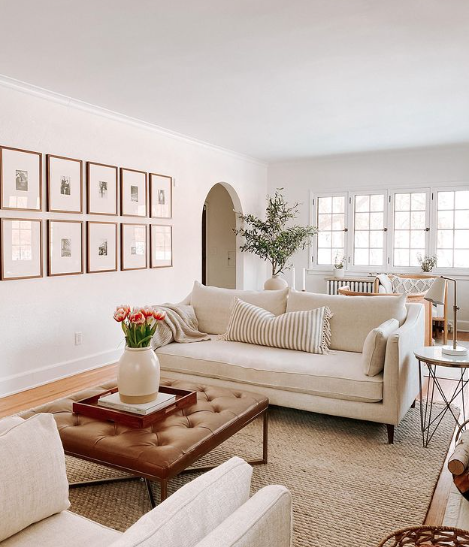
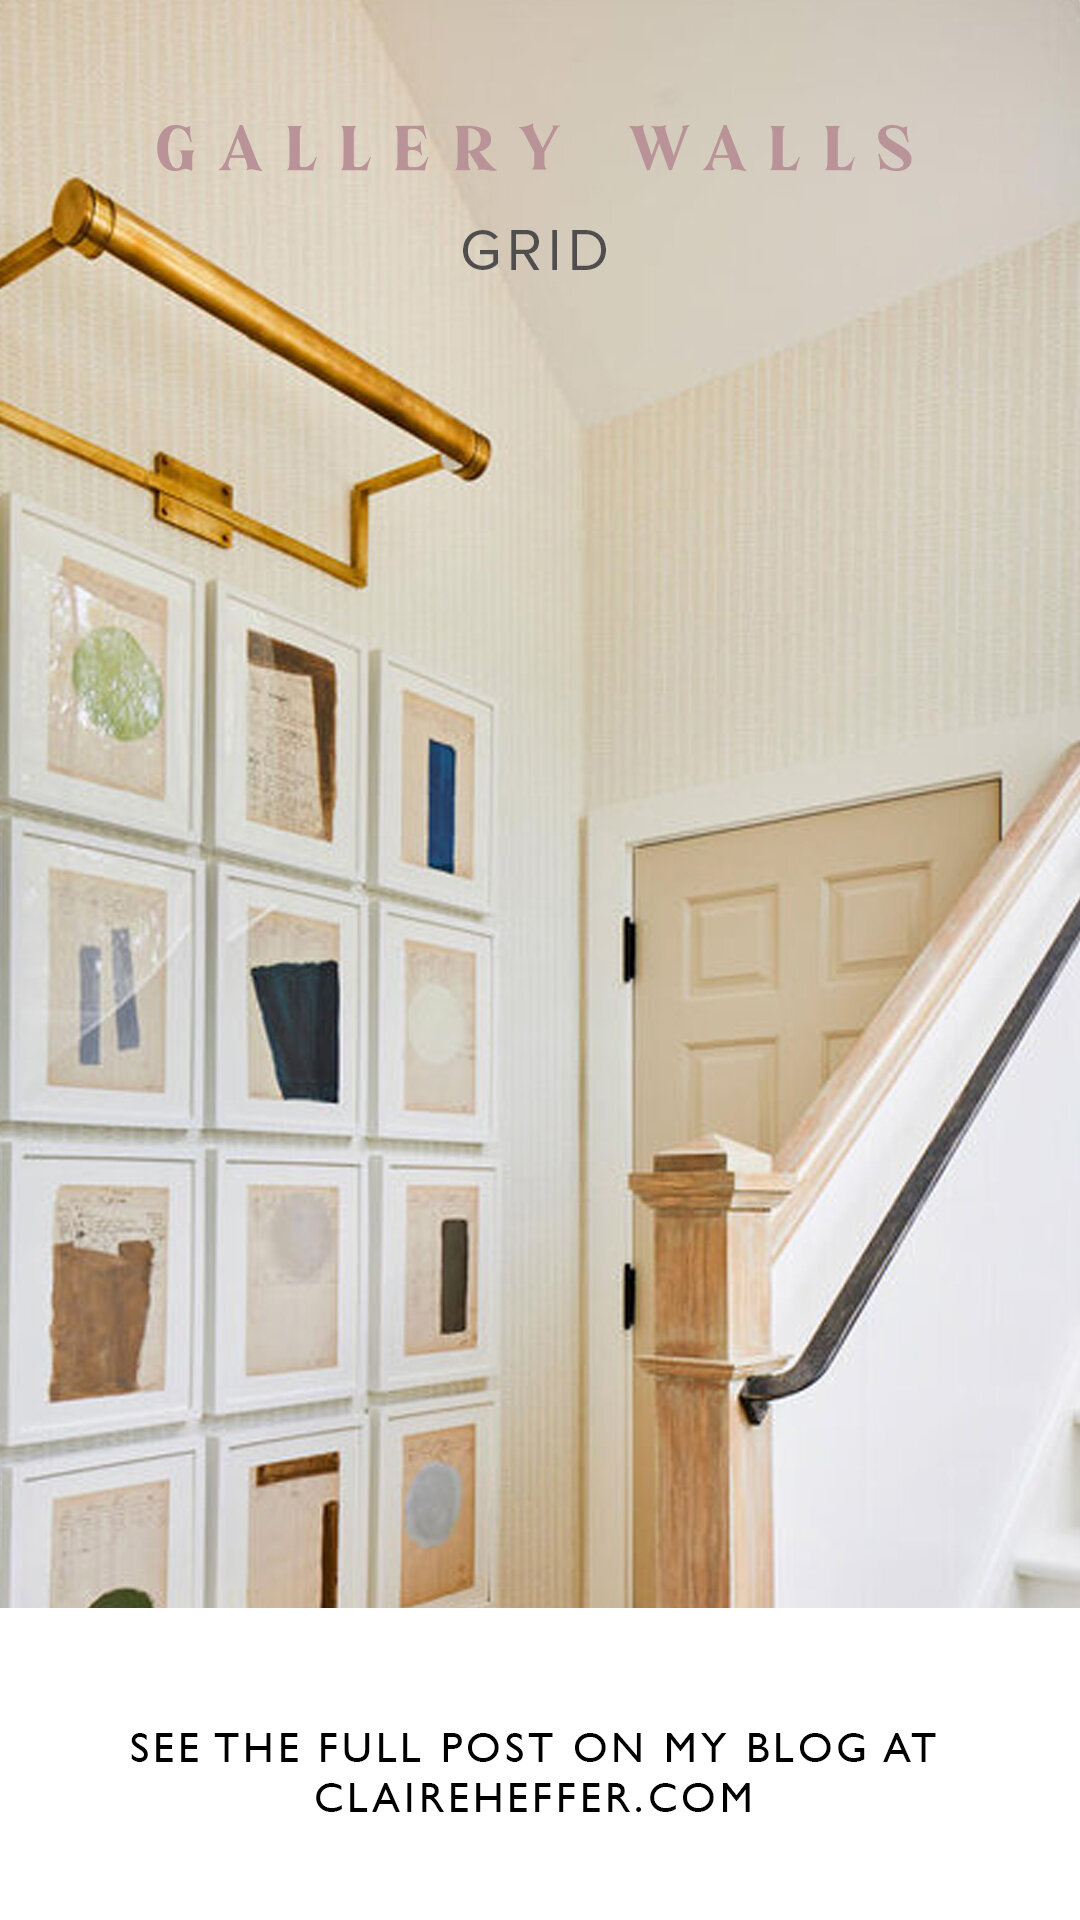
Use mounts – if your images are not all the same size or orientation then you can make them all fit into the same frame using mounts – sometimes you might need to get these cut especially to fit your frames and photos but it’s definitely worth the effort and expense (mounts are usually found quite cheaply).
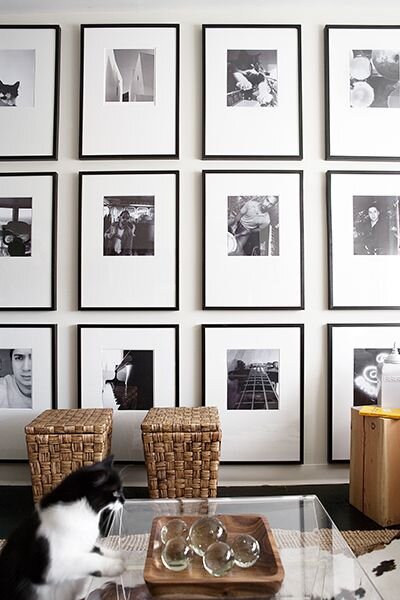
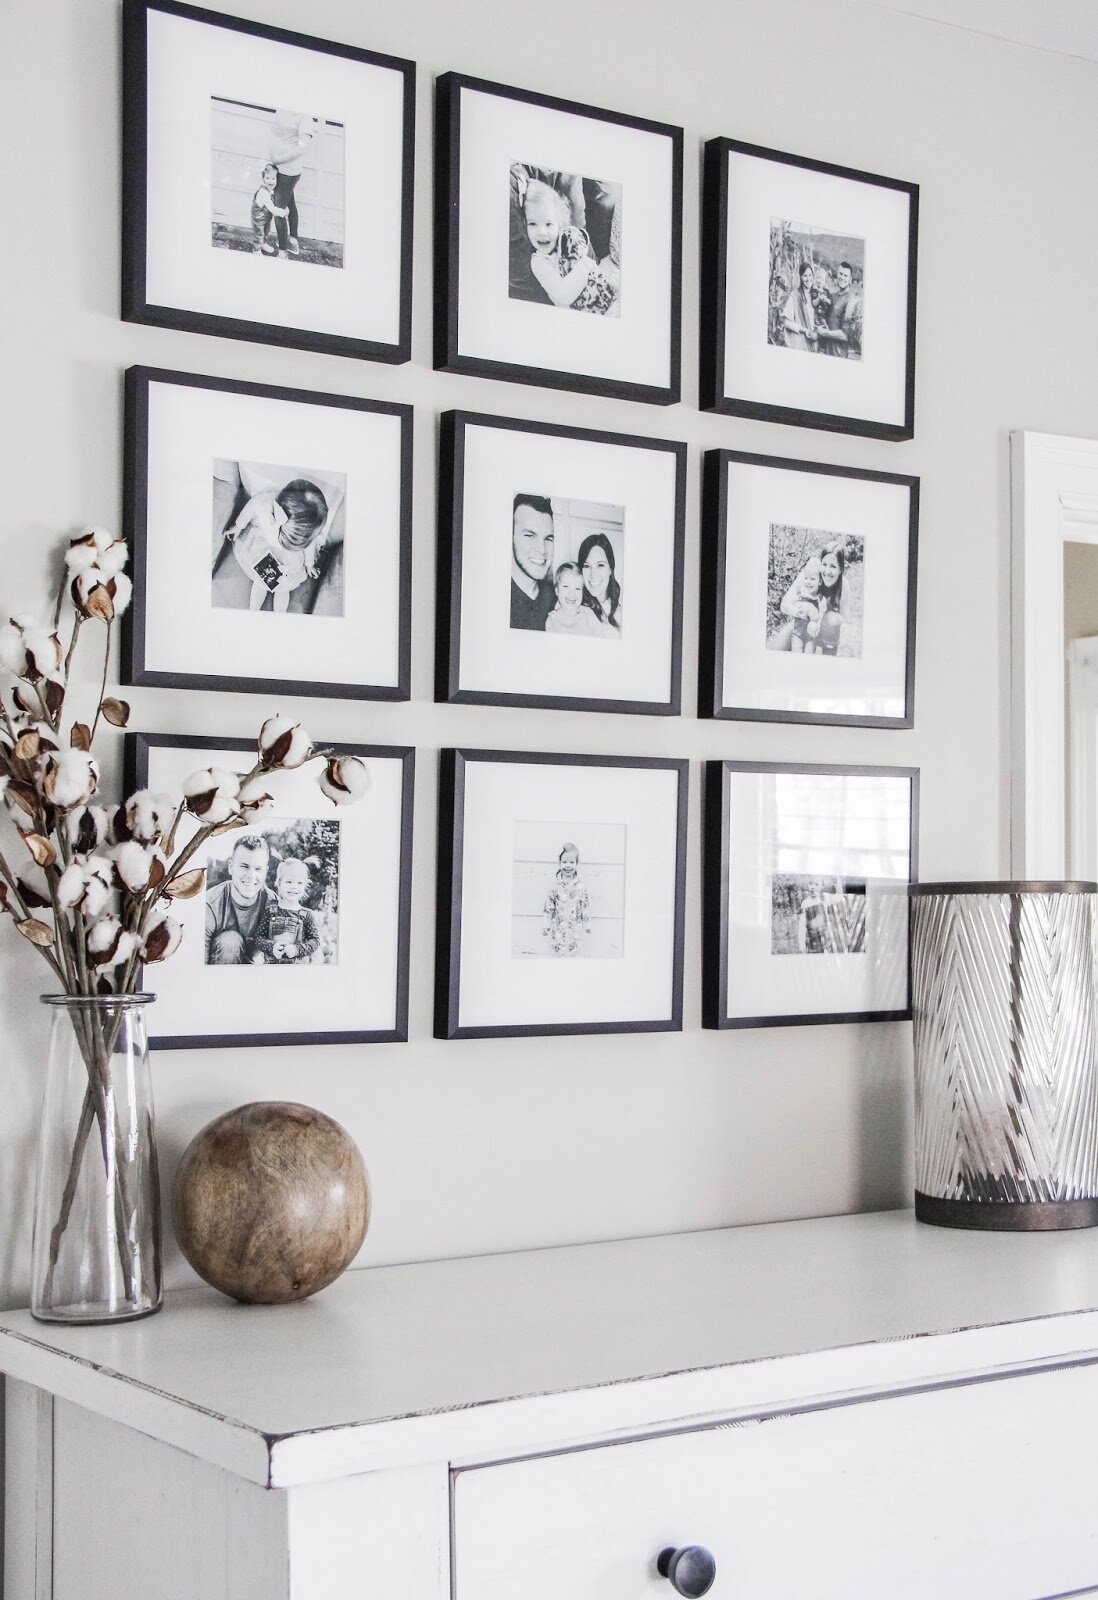
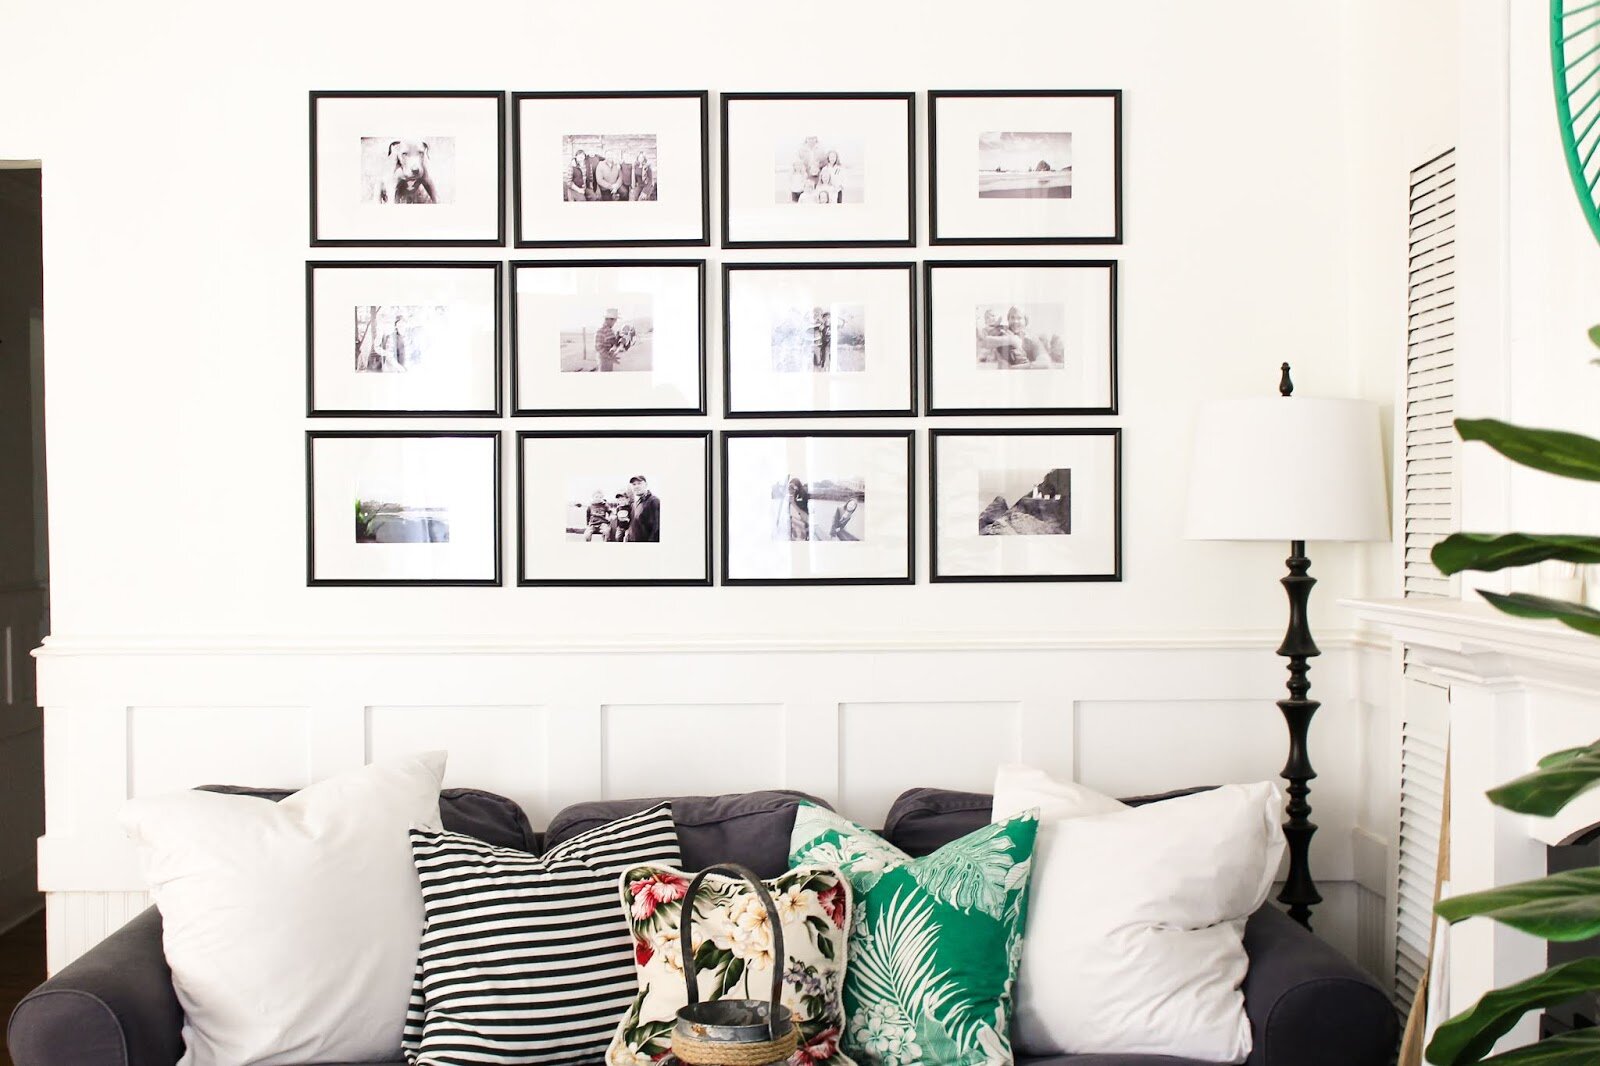
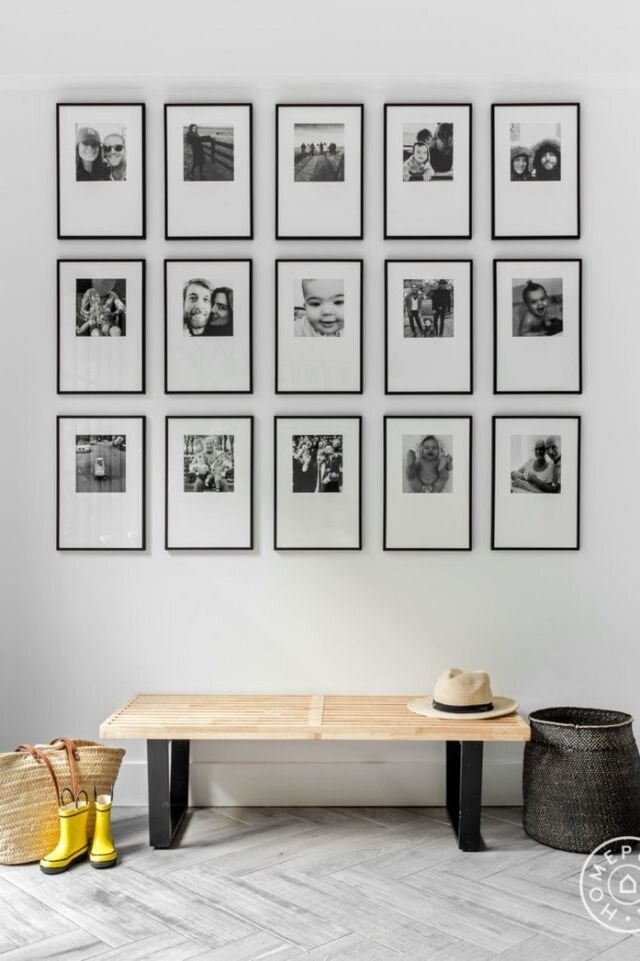
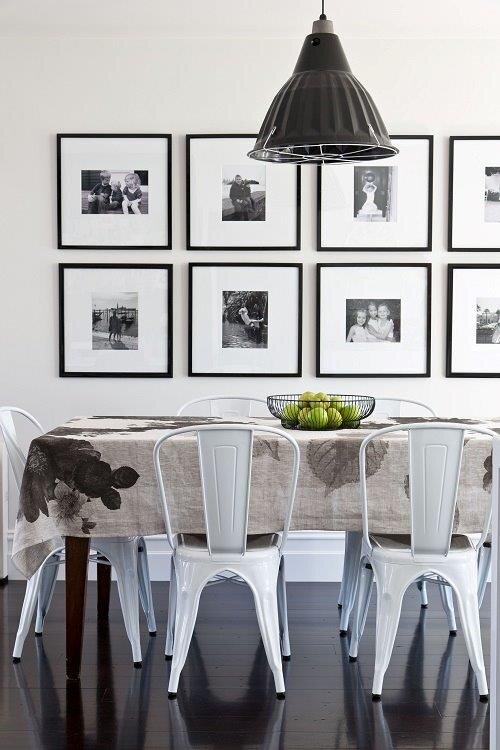
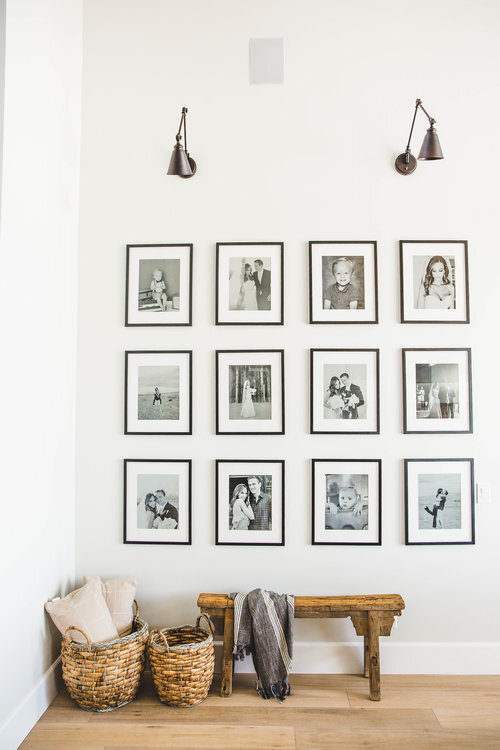
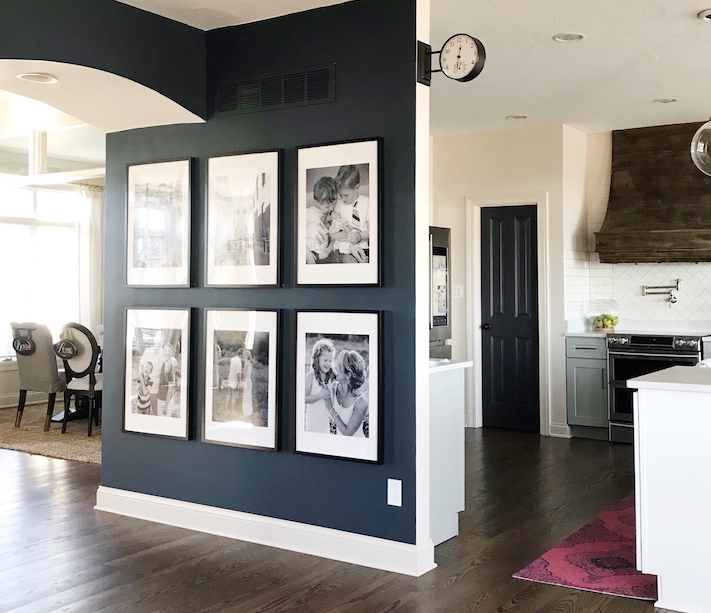
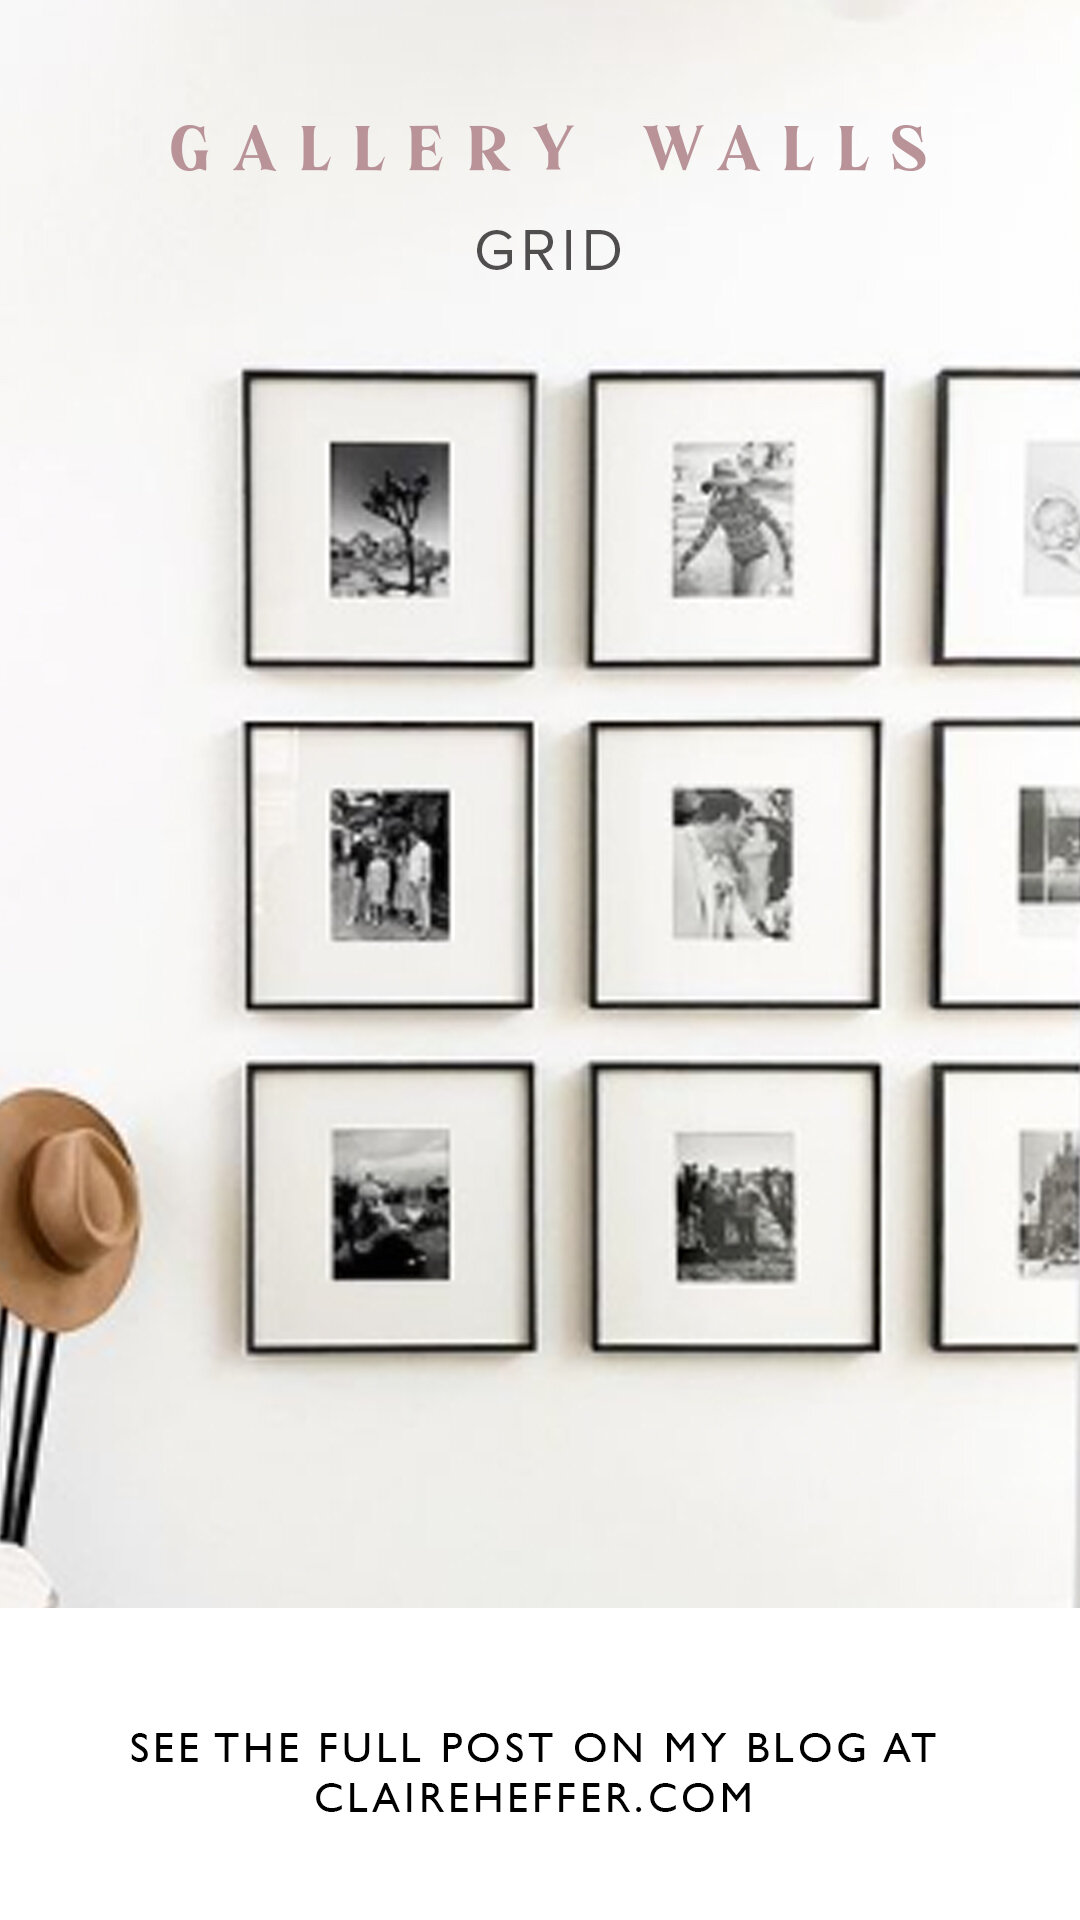
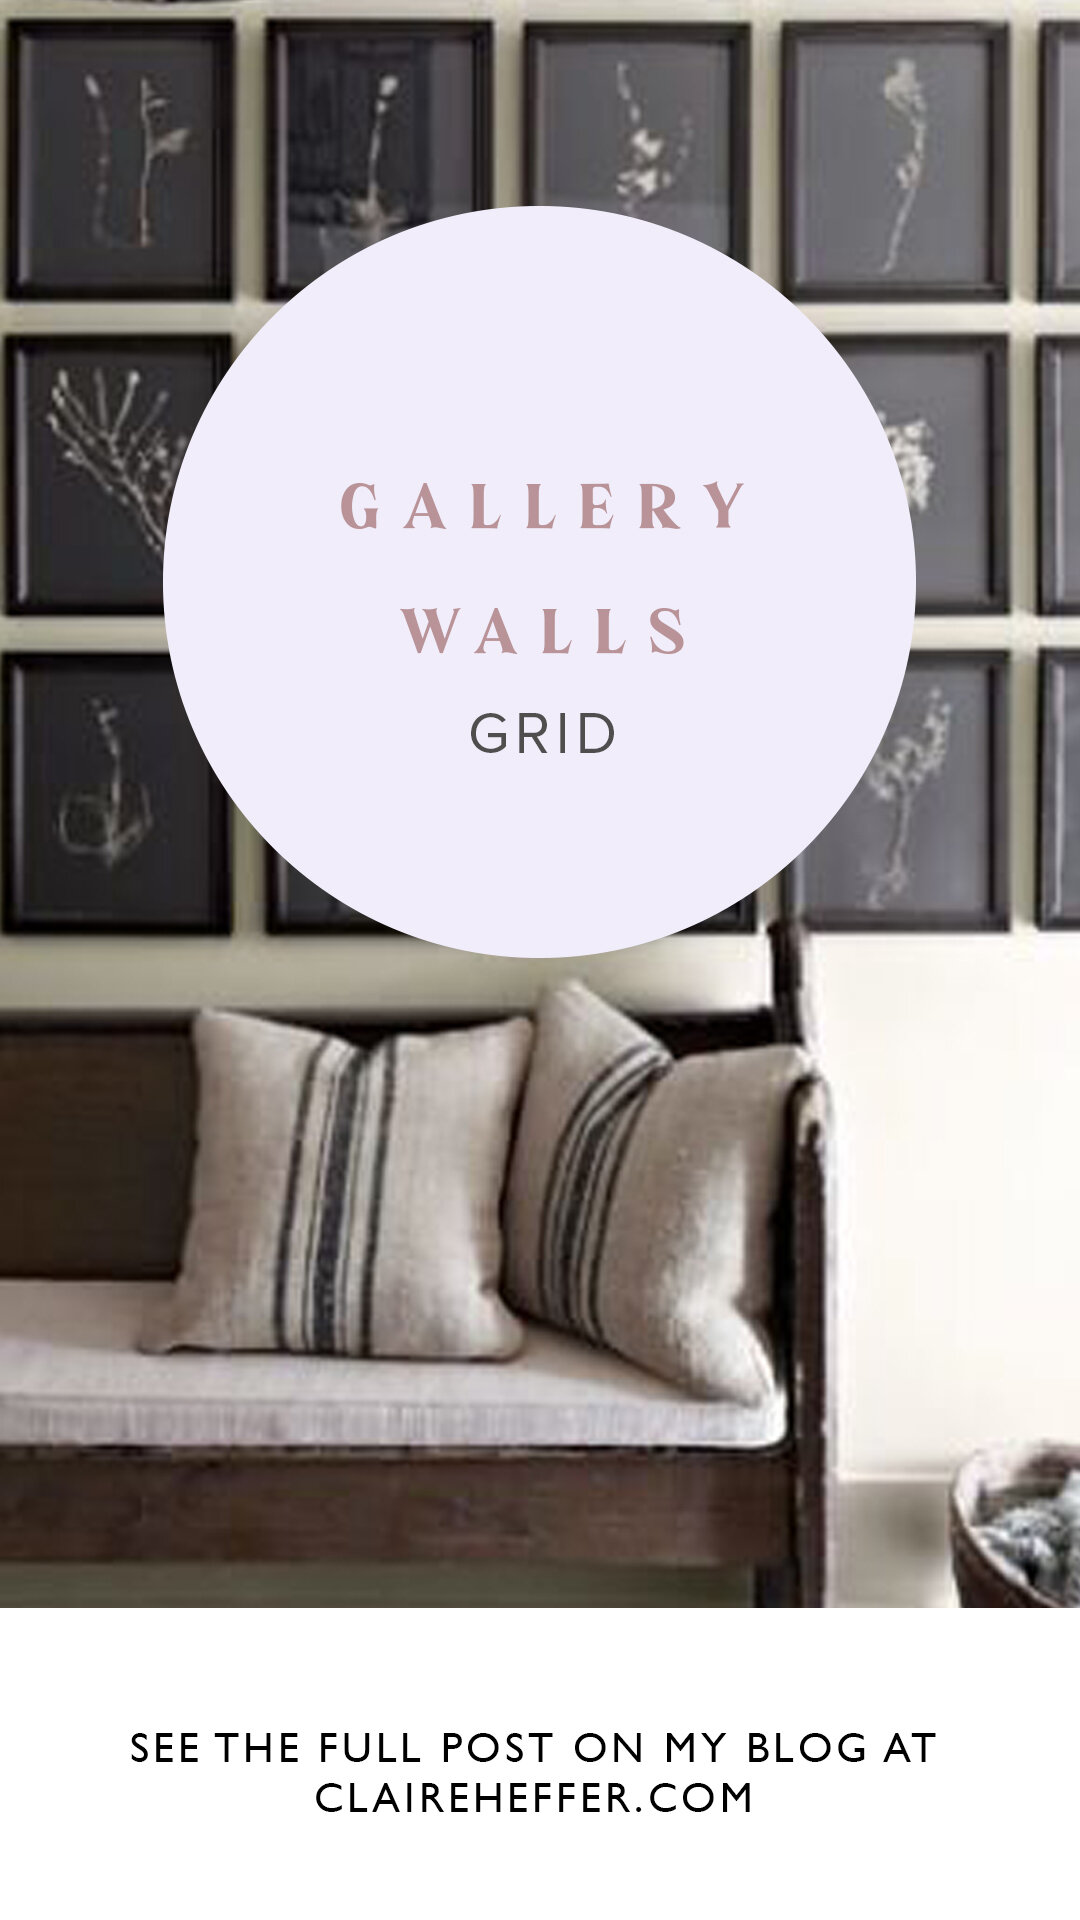
Uniformity in colour – if you have a lot of different photos you want to put in a grid there are two ways you can make them uniform – pick photos that have a colour theme (i.e. if they’re all taken on beaches, at your wedding or in the woods then their colours will be similar) but if all your photos look like a mish mash of colours then there’s two things you could do – use a filter to adjust them and get them all looking closer in tone or make them black and white. Making them black and white is by far the easiest and most stylish option in my opinion and probably why you see so many examples of this below.
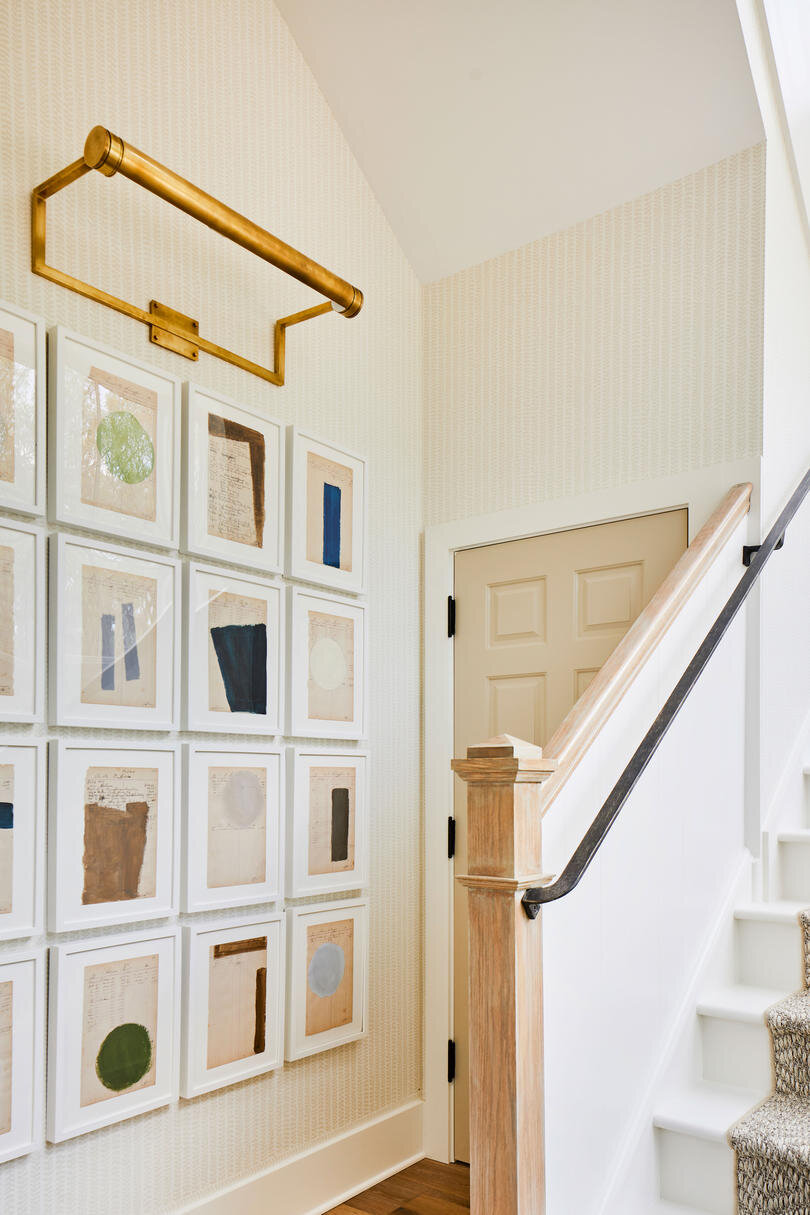
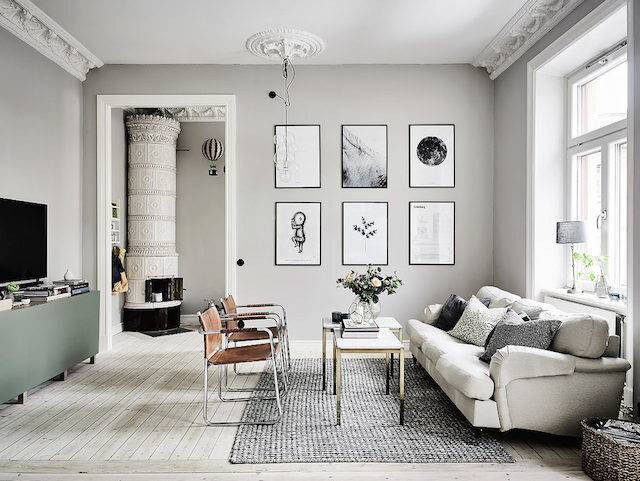
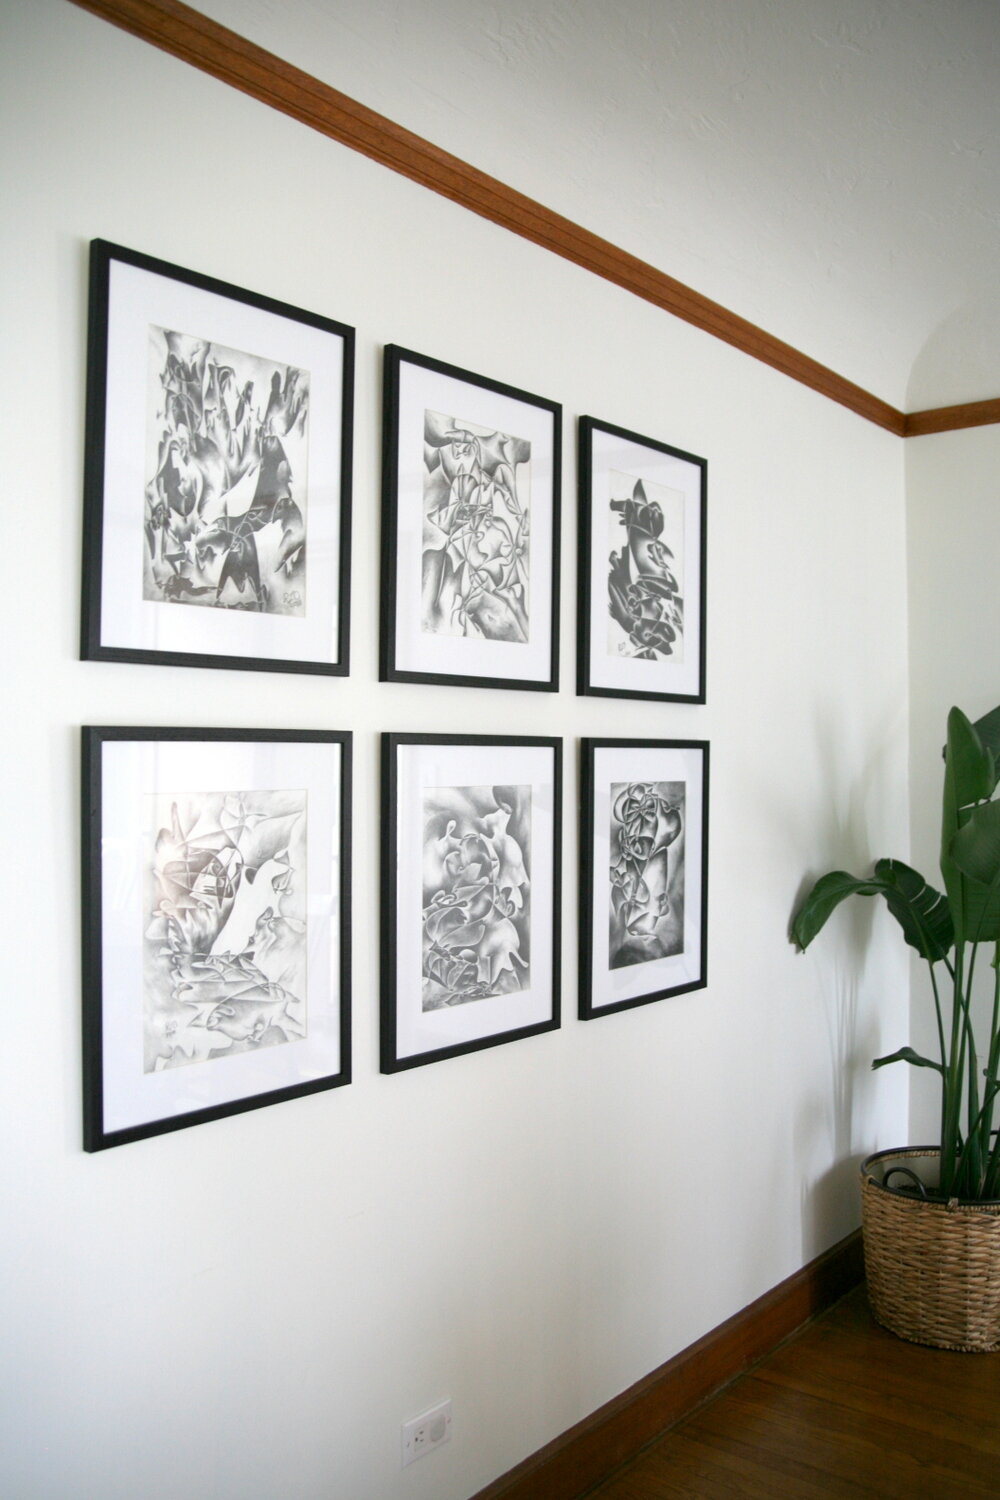
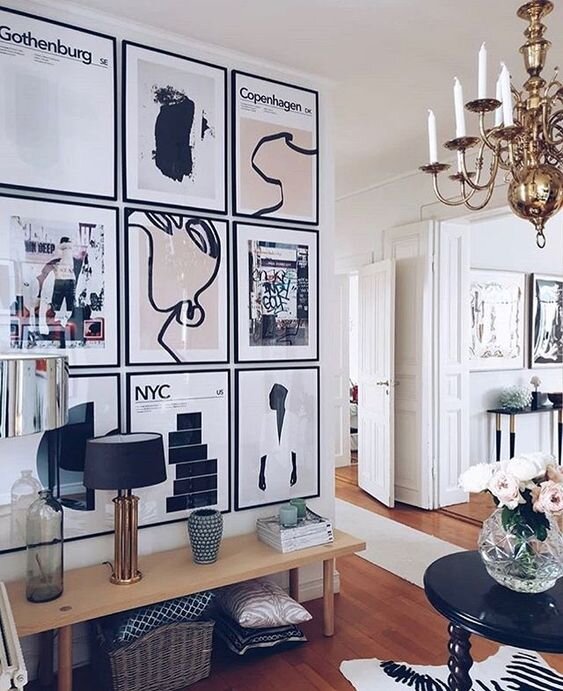
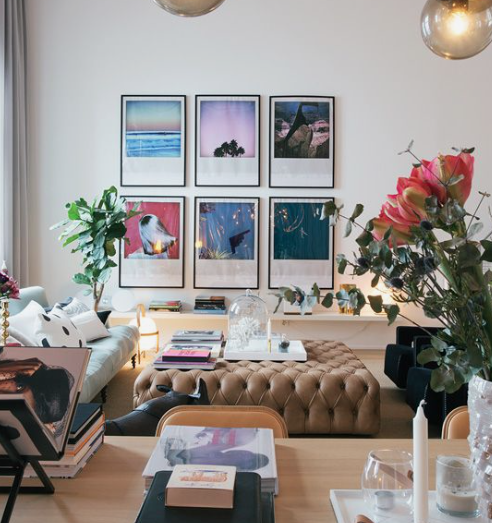
Similar to the tip above chose a colour or tone while collecting art together to go on your wall – you could choose all art by the same artist if they tend to create art that thematically look good together or if collecting art by different artists then pick a tone before you start collecting. Personally, I think if you want art by different artists then one of the other Gallery Wall styles might be better suited to you (see the guide here). (You might find it difficult to get art in the same size by different artists and with the same tone although if you shop on Etsy often artists will resize their work to custom sizes for you and even have different colour options if you need – I offer this on many of my items in my Etsy shop here).
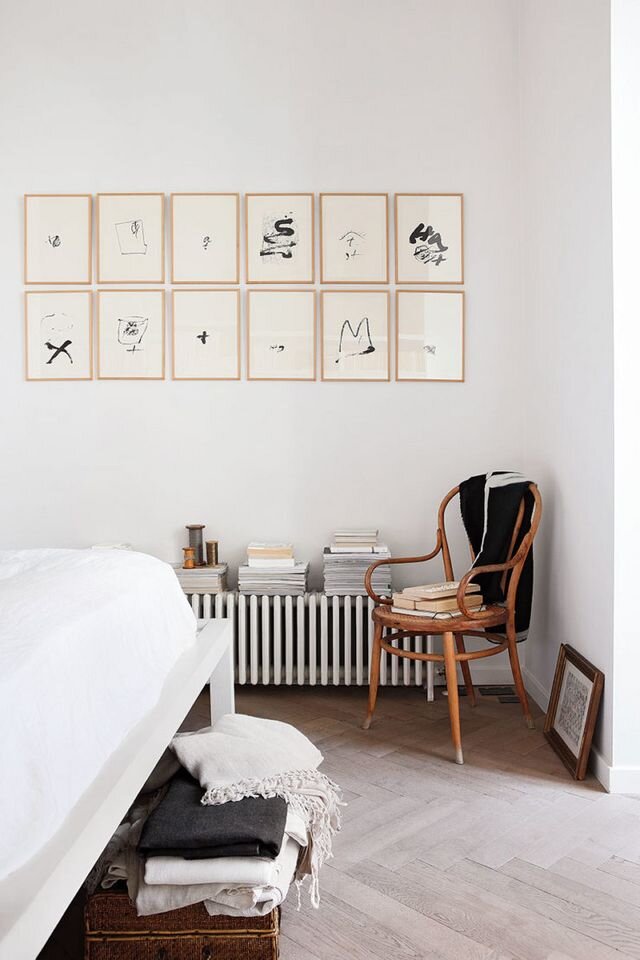
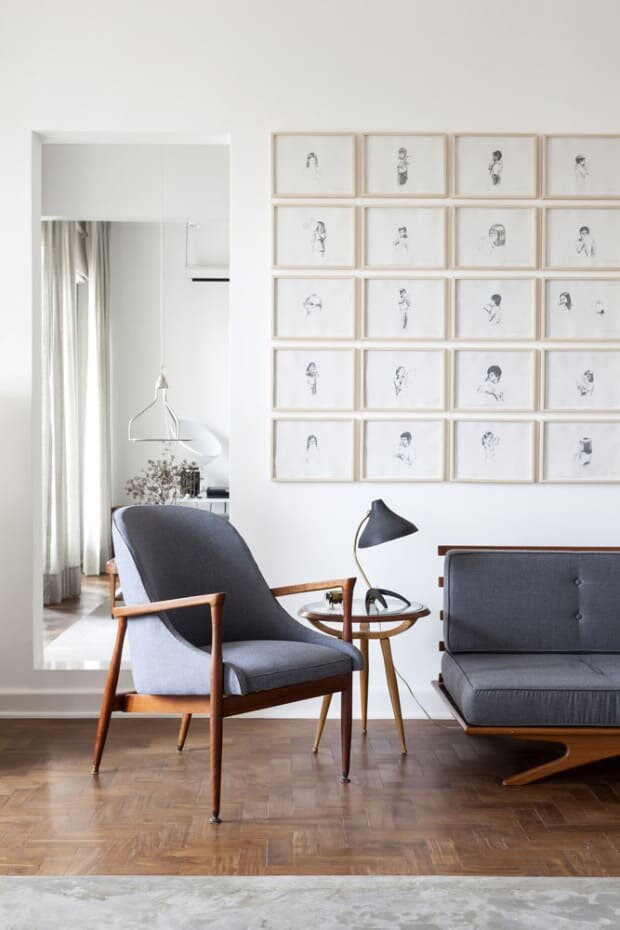
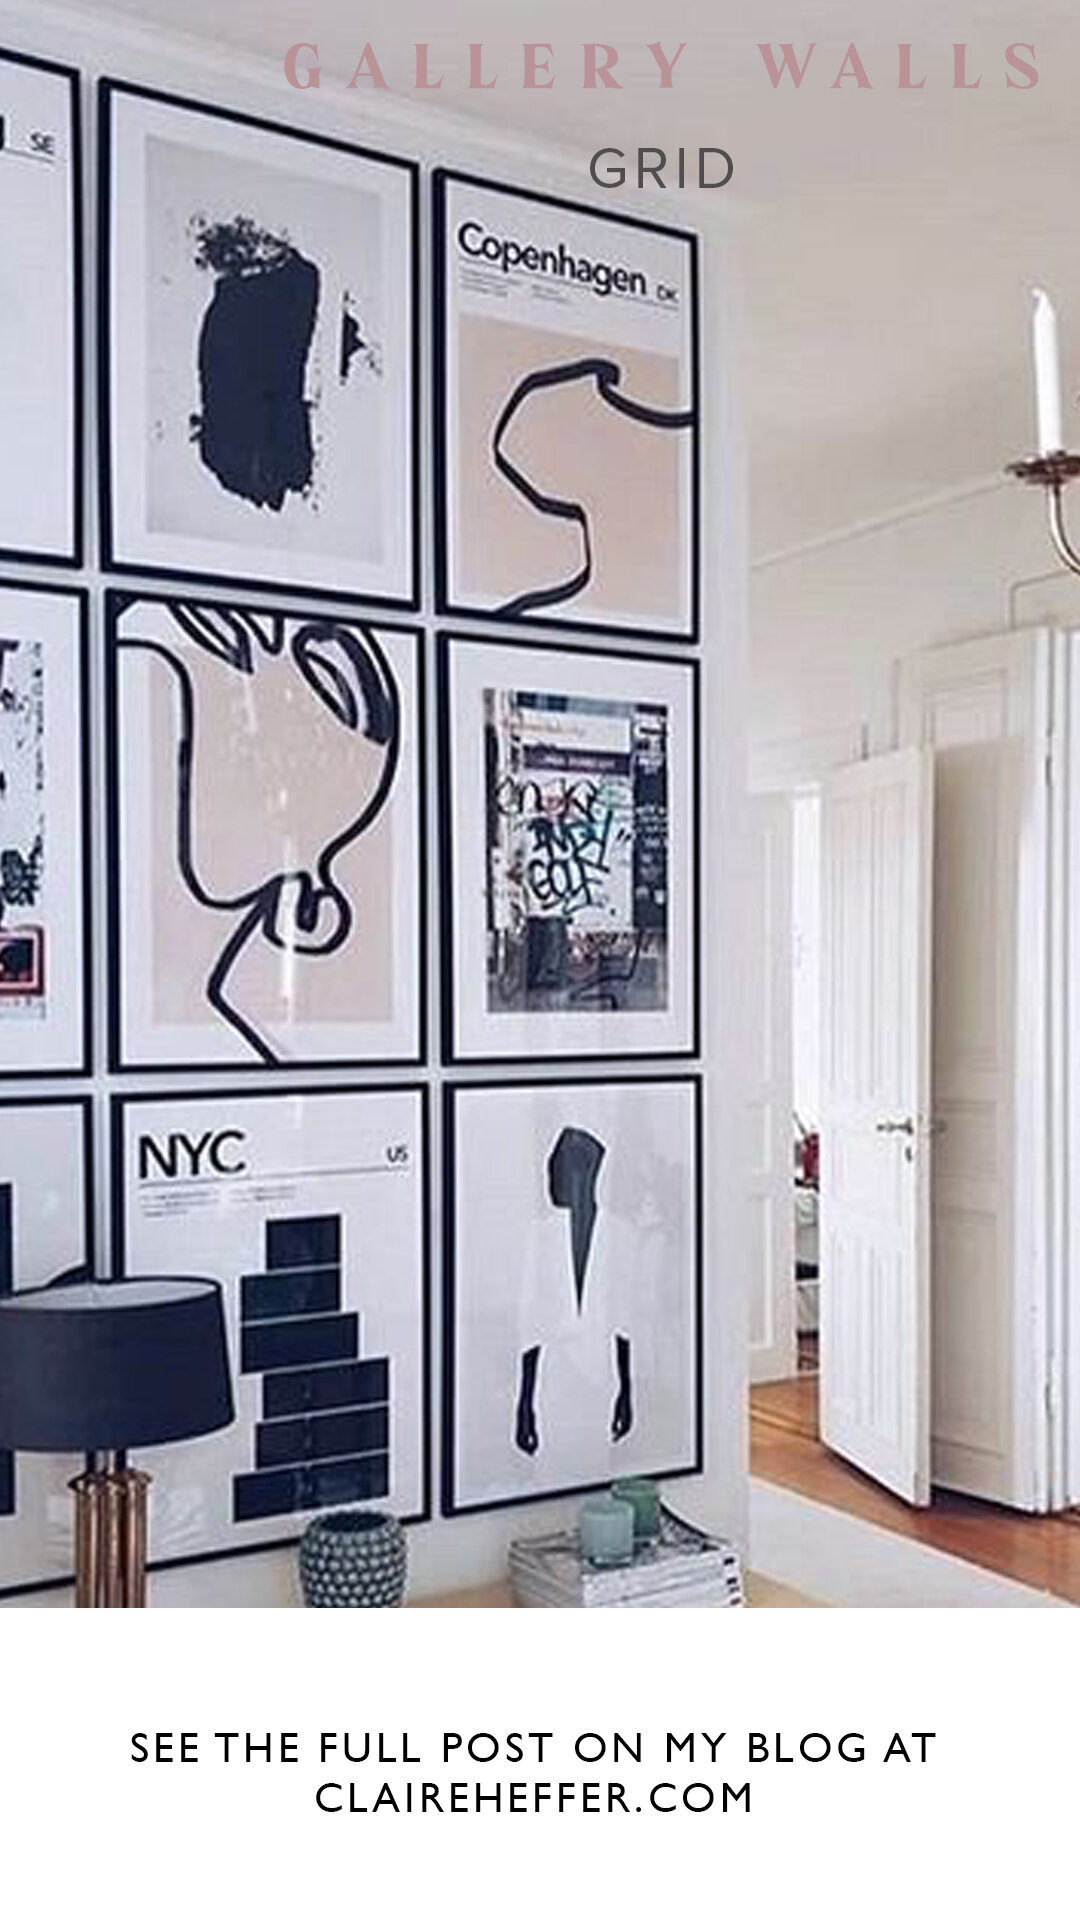
Match the grid by style – this is particularly if you are using art by the same artist – the colours might be completely different in each piece, but the style or technique makes the grid match.


